By the time I finish this article I will have completed the hardware configuration part of the PERKNET-SUPERCOMP project. Building the hardware is the easy part, which is kind of why I am having it take so long, coders are procrastinators. Getting the software configured and working requires much more effort, especially because I am not 100% sure what I am going to use the cluster for. Here is a picture of the final product. In case you want to read the other 2 parts, here are the links to Part 1 and Part 2.
I do have some ideas which were realized by these videos I found on YouTube. I am very interested in Docker Swarm.
Cluster Computer with Raspberry Pi Zero’s & Docker Swarm Mode
Building a Raspberry Pi Kubernetes Cluster and running .NET Core – Alex Ellis & Scott Hanselman
Docker Swarm mode Deep Dive on Raspberry Pi
I decided to make some additional changes to the cluster, I practically rebuilt it. Here is what I did. The following is a summary and not intended as instructions, rather a reference.
1. Reconfigure nodes with Lite
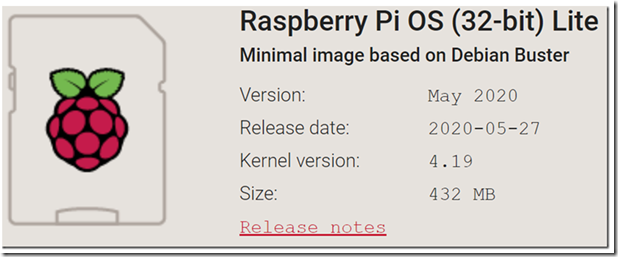
I decided to re-flash my server node SD cards and use the lite version of Raspbian which you can find here.
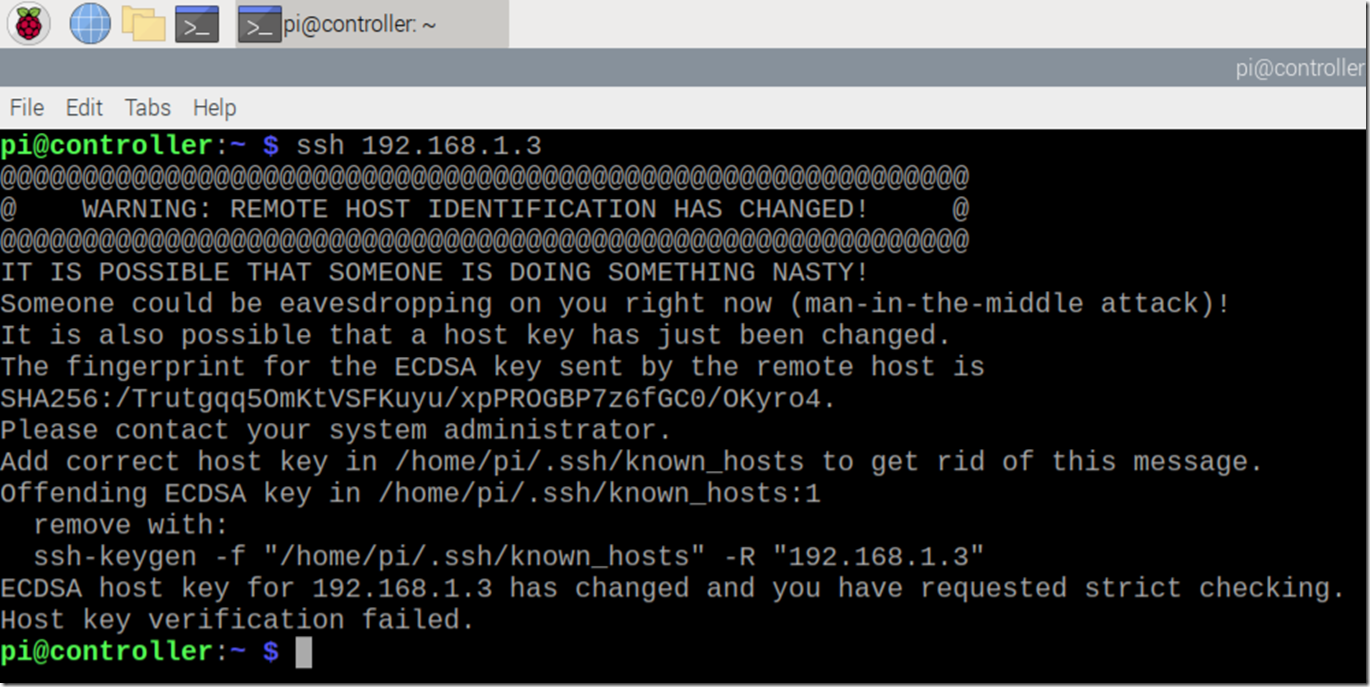
I also decided to use a tool called Etcher to burn the images (it is much faster), but I was still stuck with Win32 Disk Imager to create the images. Information about both are found here. During my reimaging process I received this error “Host name verification failed” when trying to share SSH keys between the master and the nodes. I spent some time but decided to rebuild and configure the client aka master node as well, and start completely from scratch. It turned out I simply needed to run ssh-keygen –R ip-address and then re-copy the ssh key. In the end I found the image I created didn’t always work well and performed a lot of manual configurations which was very time consuming.
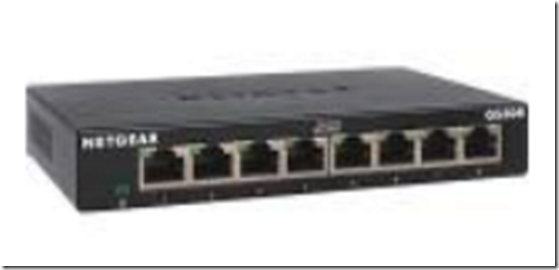
I also decided to wire up the nodes into the network instead of depending on Wi-Fi. I bought a 8 port Netgear switch to support that.
Using Wi-Fi, I was a little bit worried about booting up all the nodes at the same time and having some race condition for IP allocation from the router. I have been booting up one node at a time and waiting a minute or so between each boot up of the node. That took some time and was a little road block I removed that sometimes reduced my desire to get into the guts of the project. I mean, if it takes 20 minutes of work just to get to the point where you can start working or breaking new ground, it gets a little difficult to motivate myself, since the startup process is (or should I say was) repetitive. Now I just flip a switch and run NMAP to see how many nodes are online and proceed once they are all connected. This didn’t work out as expected. It worked once, then, because a number of the nodes didn’t get allocated an IP address I couldn’t SSH to them and shut them down correctly, I had to instead power them down hard. This corrupted the SD card and I had to rebuild all the ones which were shutdown like that. I will leave them hardwired, but not because it simplifies or speeds up the start up time.
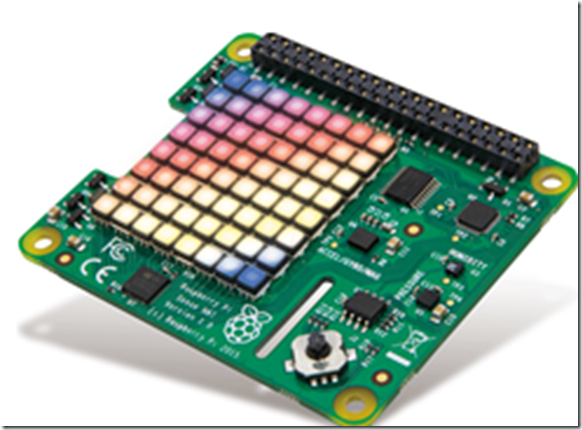
I also installed and played with 2 Raspberry Pi Sense HAT / Python API. They are positioned on the top two nodes in the cluster. I did this mostly for the kids so they could get some visual stimulus and some opportunity to code and execute some python. It is actually quit amazing to me to code a program and then watch a computer run that code. It still amazes me to this day. I wrote some cool code on one of the nodes that I configured the Sense Hat on, only to loose it when I tested the power up / power down process I thought I’d gain with hardwiring the nodes to the port switch. I do not like loosing code, especially cool code.
Here are some of the the commands and code we used to get the Sense Hat working.
sudo apt-get install sense-hat
sudo nano csharpguitar.py
————————————————————-
from sense_hat import SenseHat

sense = SenseHat()

blue = (0, 0, 255)

yellow = (255, 255, 0)

sense.show_message(“CSHARPGUITAR”, text_colour=yellow, back_colour=blue, scroll_speed=0.05)

sense.clear()
————————————————————-
sudo python3 csharpguitar.py
*Raspberry Pi doesn’t headless boot when Sense Hat is installed unless HDMI is plugged in too. I found some help here.
Here are some instructions on how to make the Sense Hat sparkle
sudo nano sparkle.py
————————————————————
from sense_hat import SenseHat

from random import randint

from time import sleep

sense = SenseHat()

sense.clear()

count = 0

while True:

  if count > 150:

    sense.clear()

    count = 0

  else:

    x = rand

    x = randint(0,7)

    y = randint(0,7)

    r = randint(0,255)

    g = randint(0,255)

    b = randint(0,255)

    sense.set_pixel(x,y,r,g,b)

    sleep(0.1)

    count = count + 1
————————————————————
sudo python3 sparkle.py
2. Manual update
Using the Lite version of Raspbian reduces its default footprint, i.e. it consumes less storage space. It does this by containing only the bare essentials for running the node. Therefore, I needed to install a few things to make it work as it did when I originally ran the full Raspbian desktop version.
sudo apt list -–upgradable

sudo apt update

sudo apt full-upgrade

sudo apt install python3-pip

sudo apt clean

sudo reboot
In this scenario the node needs to be connected to the internet. I did attempt to perform this once and make an image for flashing the other SD cards. It worked sometimes and sometimes not. The scenarios where it did not required internet access. I do not have my cluster connected to the internet.
3. Rename Host
This was only for some fun. By default all the nodes in the cluster were named raspberrypi, I used the following commands to give each one a name. It was helpful when I SSH to them each. Warning: I got some troubles with hostname discovery and SSH password less sign-on when I did this. I could not get my cluster to add all 8 nodes anymore and have actually not done this at the moment, perhaps I will later. I rebuilt and reconfigured all images and added the nodes to the cluster, now for the 3rd time. I turned out to be a problem with the port switch and the router, did a factory reset on it. Also make sure the network cables are connected good, they power supply is plugged in and the lights on the appliances are blinking and appear to be working.
sudo nano /etc/hosts

sudo nano /etc/hostname

sudo reboot

hostname
or just use sudo raspi-config
4. Enable SSH and Keyboard Layout
Choosing to use the lite version of Raspbian required some manual configurations. I used sudo raspi-config to enable SSH and to set the Keyboard layout correctly. I also needed to generate the SSH keys on my server nodes so that my controller node could SSH without providing a password. These instructions were helpful. Password-less SSH to run in headless mode.
node configuration
sudo raspi-config (Interfacing Options and Localization Options)
ssh-keygen

ssh 127.0.0.1 or ssh (hostname -I)
controller configuration
This command was part of the documented controller configuration process, but it is what makes the login happen between the controller and the node without a password:
ssh-copy-id -i ~/.ssh/id_rsa.pub <remote ip> – Host key verification failed
ssh-keygen –R “192.168.1.?”
I did have some problem getting SSH to work, the interesting part is that I could get the previous command to work, but I could no longer ping or SSH to the servers. I accessed the node directly and tried ssh 127.0.0.1 and also the actual IP of 198.162.1.3. Then, for some reason after that all worked ok. The Host key verification failed error looked something like the following. @@@@@ WARNING: REMOTE HOST IDENTIFICATION HAS CHANGED! @@@@@
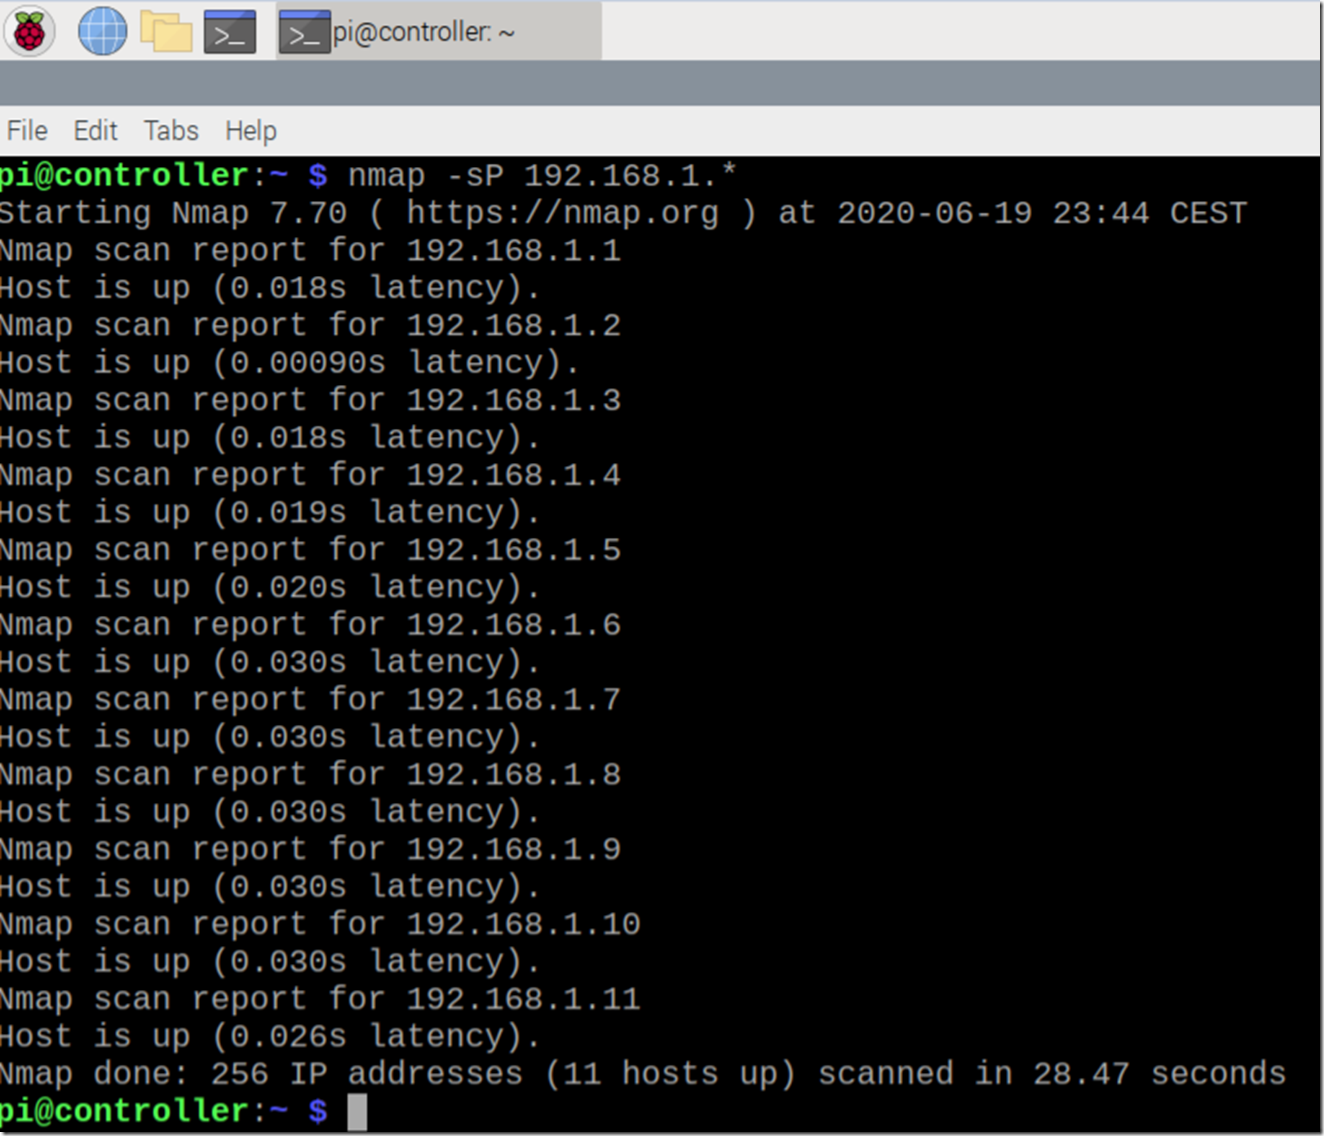
I used NMAP to check that the nodes have been connected to the network.
The router itself defaults to 192.168.1.1 and the controller I took these snap shots from has the IP address of 192.168.1.2. The remaining IPs, 3 – 11 represent the 9 Raspberry Pi nodes which I have configured and added to the network. Each one is ready for some action.
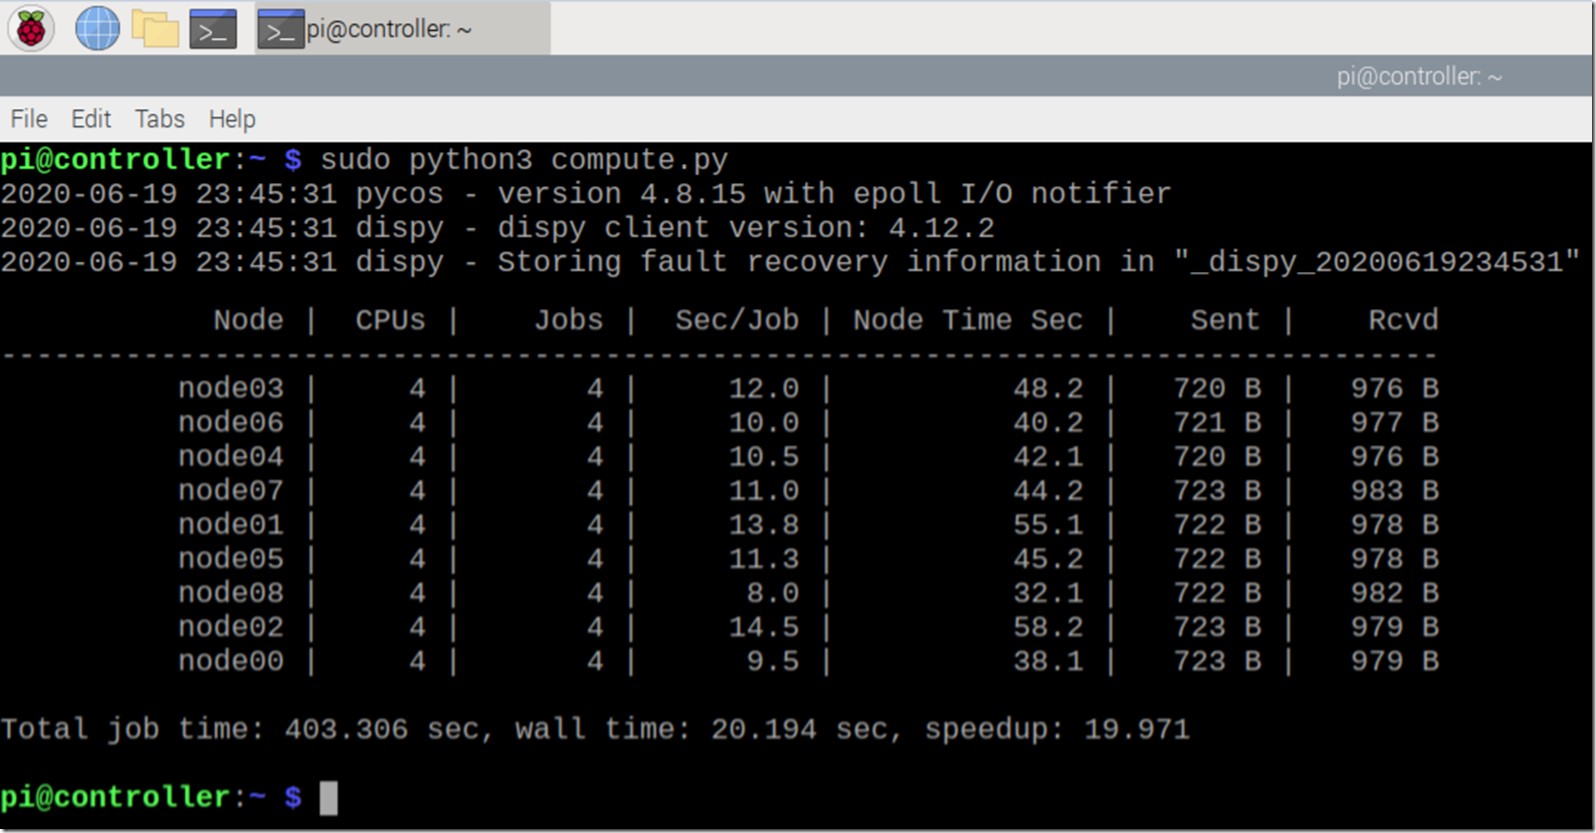
I then ran a test job which used all the nodes in the cluster.
Instead of using the default hostname for the Raspberry Pi, which is raspberrypi, I gave each node a unique name: node00 – node08, where node00 and node05 have the Sense Hat.
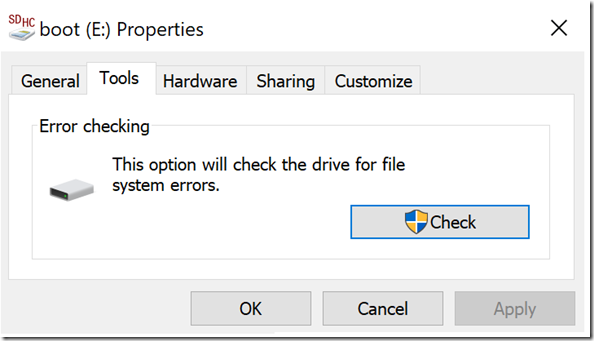
One of my nodes, you know who you are, keeps corrupting the SD card. I have rebuilt it for the 4th time now. Maybe I need to replace the SD card itself. I didn’t pay attention to the types of SD cards I bought for my cluster. Apparently they come in a range of class. Let’s see how this works out…. I was getting this error during the boot up process: I/O error, dev mmcblk0, sector ####### I had some limited success using Windows Error Checking and repair. Give that a shot, but if it doesn’t work then you will need to reimage the SD card.
I also got this error: Update UTMP about System Runlevel Changes. I reimaged the SD card as I found no solution to it. This error happened on a node that had the Sense Hat on it. I had modified the boot up to atomically start a sparkle. I needed to uncomment hdmi_force_hotplug=1 in the /boot/config.txt file so it booted without an HDMI output plugged in. I am not sure if this is related in any way. Another odd thing is that although the boot output screen stopped at that line, I pressed the enter key and was prompted to login…odd…but it didn’t boot headless until I reimaged the SD Card.
Now it’s time to get some work done!
Other useful commands for reference
sudo halt

sudo reboot

df –h

lsblk

pwd

chmod +x <filename>

nmap –sP 192.168.1.*

./cluster_action.sh shutdown

sudo python3 compute.py

sudo python compute_pi_efficient.py 1000 100000

systemctl status system-logind.service
Other useful links
Python Package Index
Hacking
I did give some thought about my aspirations for hacking. My intent for this cluster was to run some hashed values against rainbow tables to get the human readable text value. I started with looking into the different methods of hashing and encrypting. Here is a table of hash and encryption algorithms and code.
| Algorithm | Type | Classification | Link | Secure? |
| AES | Encryption | Symmetric | C#, Wiki | Yes |
| DES | Encryption | Symmetric | C#, Wiki, Triple DES | No |
| RSA | Encryption | Asymmetric | C#, Wiki | ~ |
| PKCS | Encryption | Public (RSA) | C#, Wiki | ~ |
| MD5 | Hash | C#, Wiki | No | |
| SHA-1 | Hash | C#, Wiki | ~ | |
| SHA-2 | Hash (256, 512) | C#, Wiki | Yes |
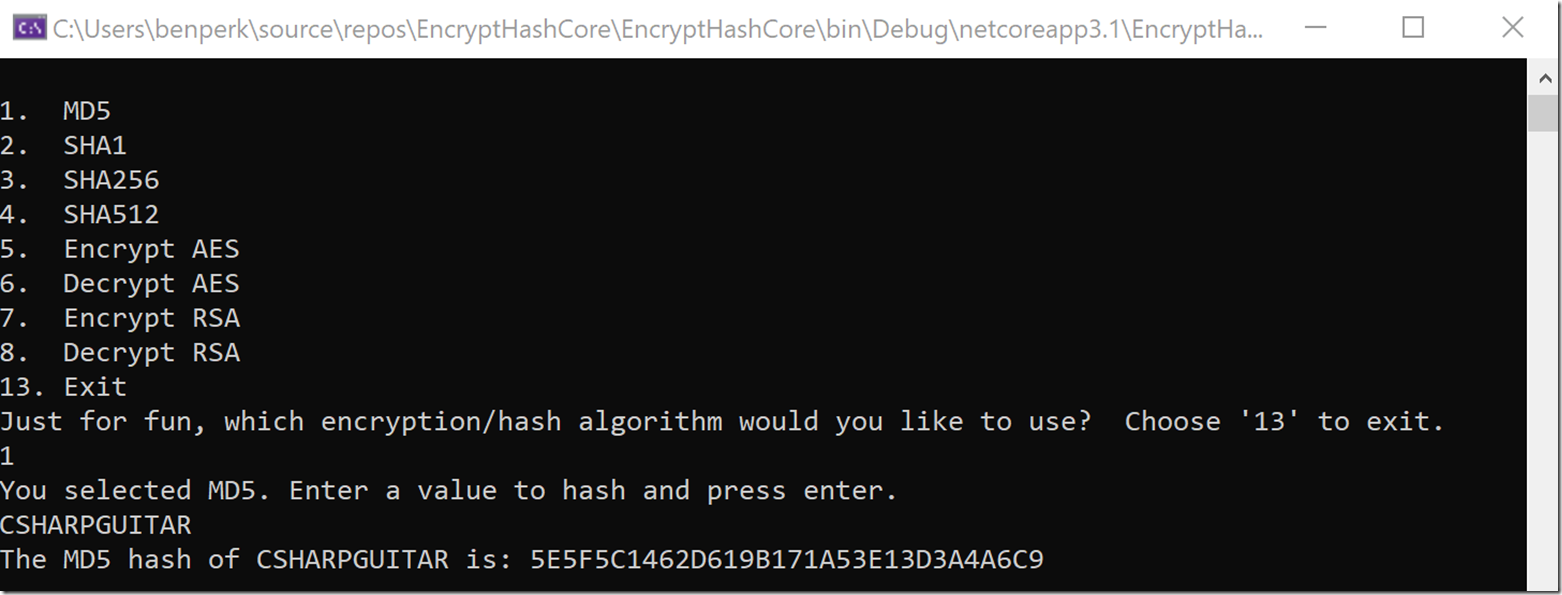
The reason for that study was based on the requirement to know how the technology works before you can find any cracks in it. Each of those alrogithm leads into much deeper and highly technical concepts. Here is some sample code I used to hash a value, followed by a picture of its output.
using (MD5 md5Hash = MD5.Create())

{

   byte[] data = md5Hash.ComputeHash(Encoding.UTF8.GetBytes(source));

   StringBuilder sBuilder = new StringBuilder();

   for (int i = 0; i < data.Length; i++)

   {

      sBuilder.Append(data[i].ToString("X2"));

   }

   Console.WriteLine($"The MD5 hash of {source} is: {sBuilder}");

}
The issue with MD5 and the reason is it not secure is because the hash is always the same for the same hashed source value. Therefore, the number of possibilities of what the value of 5E5F5C1462D619B171A53E13D3A4A6C9 is, may not be as big as expected. I wrote a short article about why you would use hashing here. So if your database is breached and you have the passwords stored as hashes, you can have a problem, depending on which algorithm you chose.
Finally, I have decided that I will not blog about hacking. I plan to learn and prove my theories, but I can’t, with a clear conscious, provide information and instructions which could be used for malicious purposes. I have no desire to be a black hat, but I am very interested in technology and security. My first rule of security is “don’t talk about security”.

