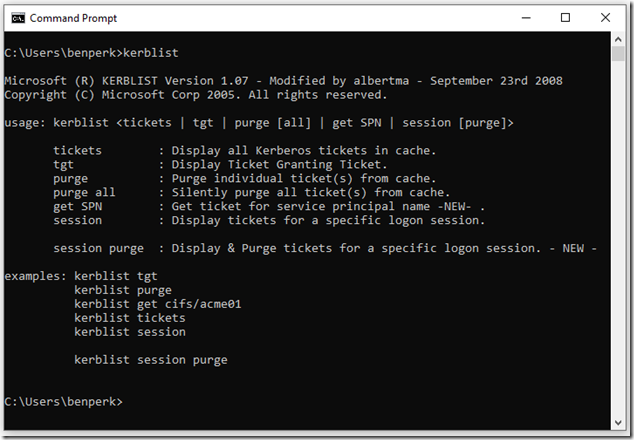
Even though I am not a security expert, it has always interested me. When I worked on the IIS team some years back, pre Azure and pre Cloud days the protocol mostly used for large corporations was Kerberos. Initially, troubleshooting those issues would give me sleepless nights, but over some years you begin to see the same kind of issues bubble up and 9.9 times out of 10, you solve it using a standard troubleshooting guide. It was only towards the end of my IIS tenure that I found this helpful tool: kerblist, see Figure 1. I know this article isn’t about Kerberos, but I like to give some kinds of historical perspectives when I write about the new stuff. Perhaps this is my “when I was kid I walked to school up hill both ways” story but with a technical flare.
Figure 1 – Kerberos and kerblist
But anyway, I wrote a few articles about doing work on Azure which required a Bearer token, have a look at those to see how complicated it used to be.
- Make changes to Azure App Service setting using Postman
- Using Postman to call Azure REST APIs
- How to find apiVersion used for REST API or ARM templates
- Azure Function 400 Bad Request
- How to disable/enable HTTP/2, Azure App Service
- How to securely connect to Azure from C# and run REST APIs
It is much easier to get a token these days. One typically had to use Fiddler or F12 and capture the information from those tools. But, before I get into that, let me first mention about this token stuff. Perhaps this is another reason Kerberos crossed my mind when I started brainstorming this post. It’s because when you think about Kerberos, the word TICKETS enters my mind. Then I started thinking about what enters my mind when I think about Tokens and Bearer, the term is OAuth. So, Kerberos is to ticket and OAuth is to tokens, that is how I am going to categorize it. These tokens, like tickets are use to authenticate a request to a protected resource.
I wrote this article where I used Azure CLI to call a REST API to get the status of a Function App. Because I had already logged in to the PowerShell IDE using az login, there was already a token for me. But, when I run the same GET using Postman, I get an authentication error.
{

"error": {

"code": "AuthenticationFailed",

"message": "Authentication failed. The 'Authorization' header is missing."

    }

}
What I need to do, and since I am already logged into Azure via PowerShell, I can execute this Azure CLI command.
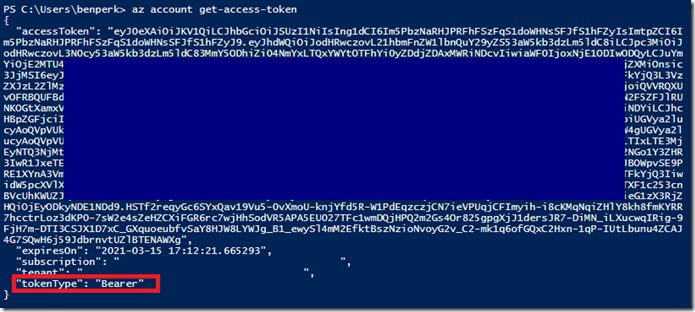
az account get-access-token
While results in the following output, shown in Figure 2.
Figure 2 – getting an Azure access token, bearer token
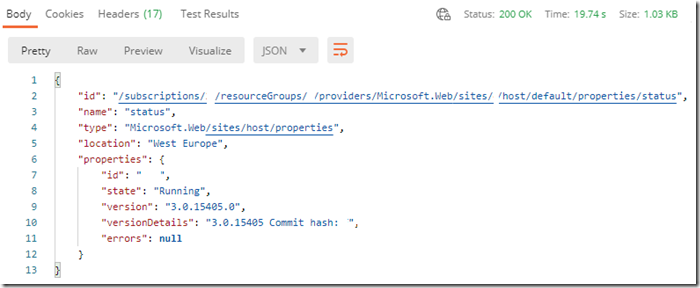
I can then copy the value of the accessToken and create a Header named Authorization with this value, without the beginning and ending quotes, preceded with Bearer, see Figure 3. Then, the request from Postman will work, see Figure 4.
Figure 3, using the Bearer token for running an Azure Resource Manager API
Figure 4, Postman result when using a Bearer token
One thing to note is that when you copy the accessToken from PowerShell as seen in Figure 2, it has carriage returns. You will need to copy that into Notepad for example and remove the carriage returns. You achieve this by disabling Word Wrap found in the Format menu item, going to the end of each line and pressing the delete key until you come to the end.


