Check out my post here that explains how to start the Cloud Shell and set the subscription.
Also checkout how to do the same using Azure PowerShell here.
To backup an App Service using CLI / AZ you execute this command, seen in Figure 1.
az webapp config backup create –resource-group “BACKUPS” –webapp-name “**********” –container-url https://******.blob.core.windows.net/webappbackups?sv=2017-04-17#######******”””&sp=rwdl
Figure 1, backup restore an Azure App Service using CLI / AZ Cloud Shell
Getting the SAS URL is not complicated, but requires some additional steps which I found most optimally completed by using these PowerShell cmdlets… Get-AzureRmStorageAccountKey and New-AzureStorageContainerSASToken. I discuss how to do Backup/Restore using PowerShell here. You can achieve the same by executing this command.
az storage container generate-sas –name <container-name> –expiry <sas-expiry> –permissions <permissions> –account-name <account-name> –account-key <account-key>
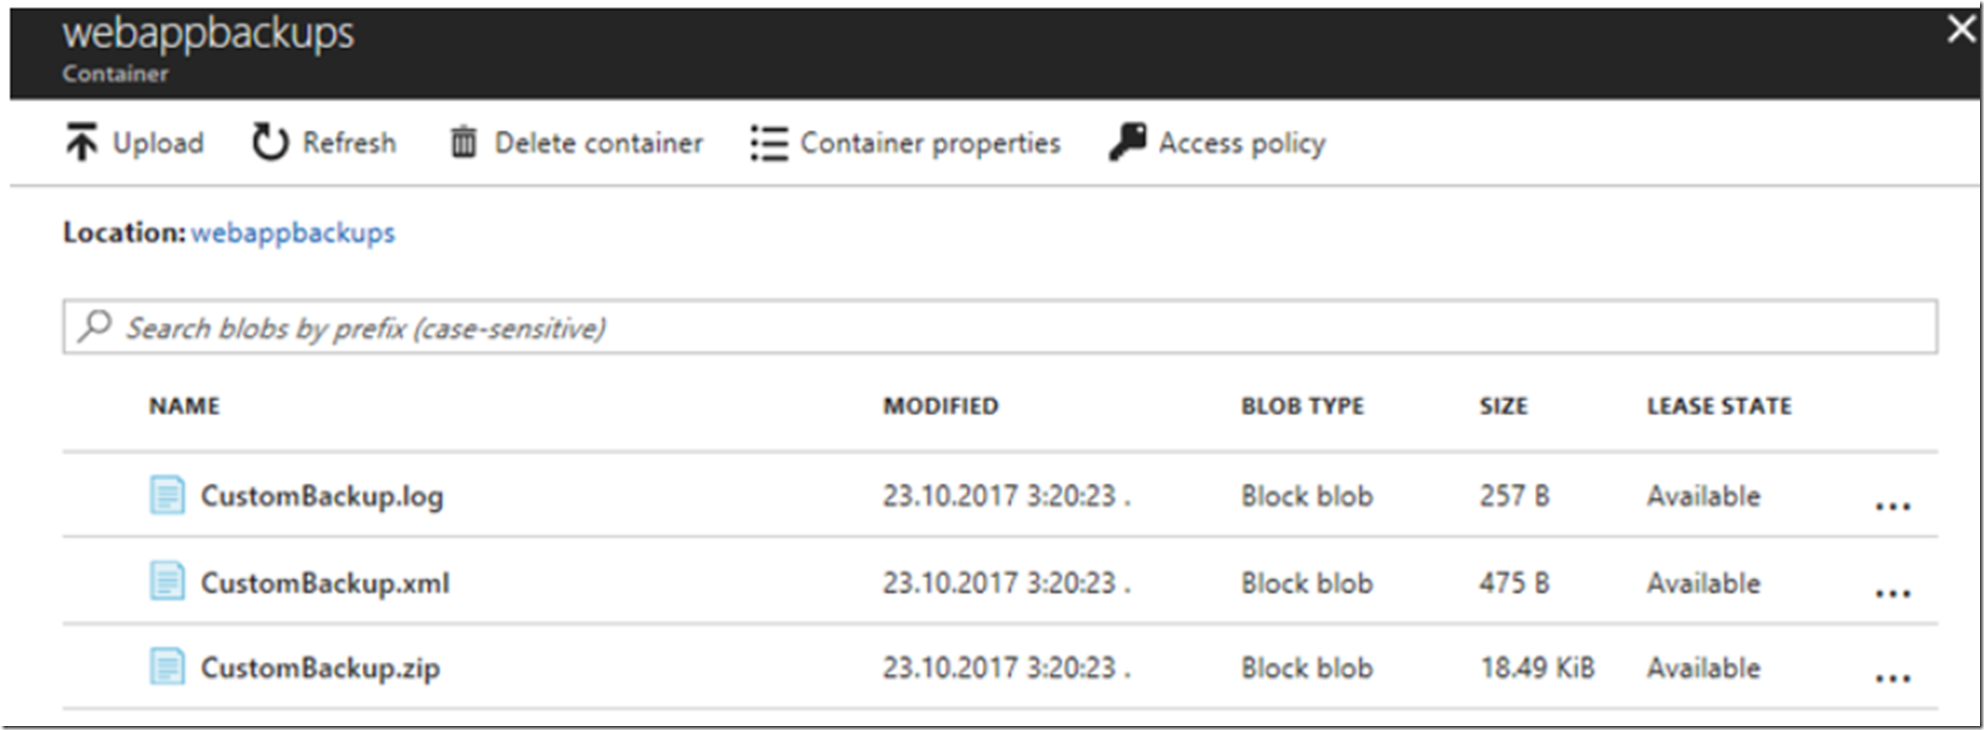
Once the backup is complete, you can checked for the backup in the Azure Blob Container, as seen here, Figure 2.
Figure 2, backup restore an Azure App Service using CLI / AZ Cloud Shell, check status, backup
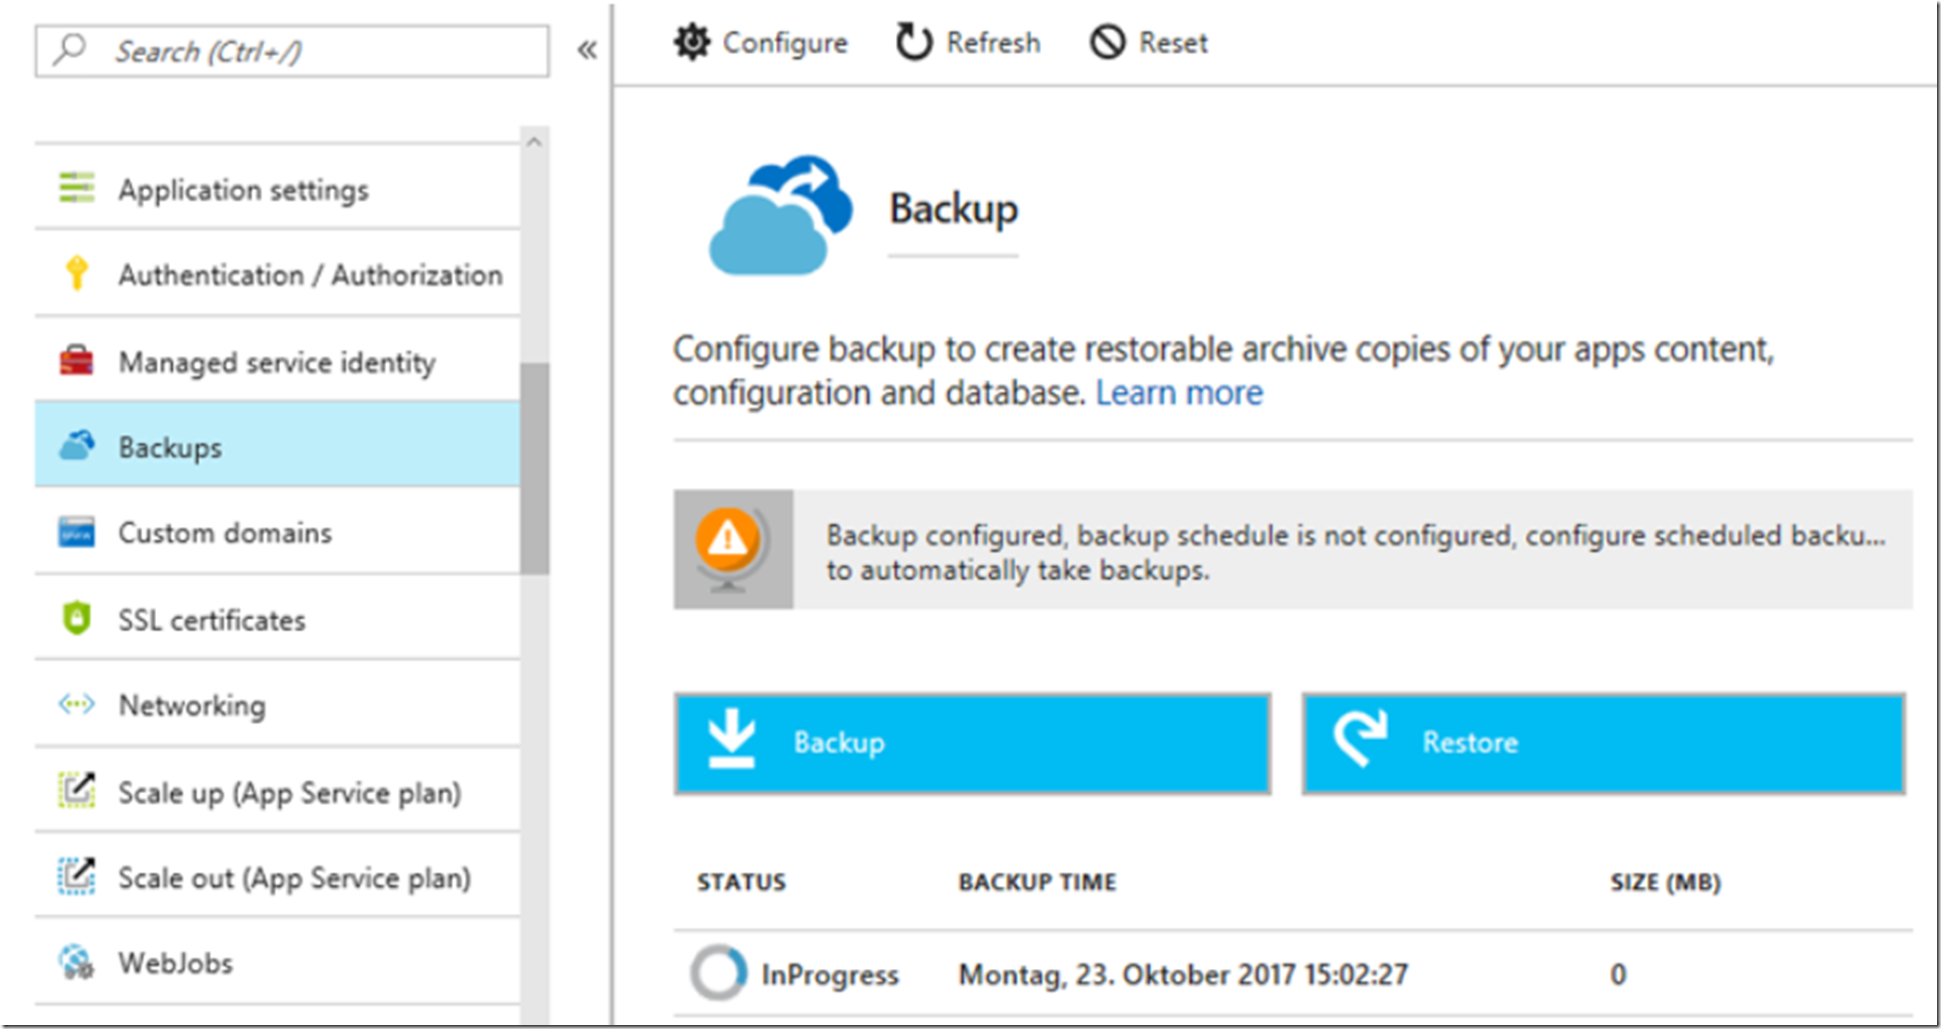
Or you can check the status on the backups blade in the Azure Management Portal, Figure 3. Assuming it has been configured.
Figure 3, backup restore an Azure App Service using CLI / AZ Cloud Shell, check status
To restore and App Service using CLI / AZ you execute this command, seen in Figure 4.
az webapp config backup restore –backup-name “CustomBackup.zip” –container-url “https://??*??.blob.core.windows.net/??*?+*?sv=2017-04-17&sr=c&sig=3R5%2F2guzY%3D&se=2017-11-23T14%3A20%3A20Z&sp=rwdl” –resource-group “BACKUPS” –webapp-name “*****” –overwrite


