Well, the fact that you do not need to use Visual Studio or to install the Bot Framework to get a #chatbot or a generic #Bot up and running still applies. See my other posts:
- Create a Bot using an Azure App Service Bot Service
- Most common chatbot questions and how to answer them
- Publishing a chatbot using Bot Services and LUIS
- How I tested / debugged my chatbot that I created using the Bot Services on Azure
- How my chatbot remained statefull using Azure Bot Services
- C# Bot Builder Samples on GitHub
- Top 10 must have Phrase List Features for your chatbot or any bot LUIS
- 1000 must have utterances for your chatbot using LUIS
- Adding LUIS Entities to my chatbot
- How I improved my chatbot
However, when you want to start doing some development, you might need some way to test your changes. Look no further as I will walk you through how to debug your C# bots built using the Azure Bot Service on Windows. Everything in the article is taking from this guideline, see ‘Debugging C# bots built using the Azure Bot Service on Windows’ section. Like always, I like to do it myself and document my learnings as it is always good to get perspectives and read others experiences. Here is what I did:
- Installed Visual Studio 2015 Community on a Windows 10 N virtual machine on Azure
- Setup my source code repository
- Download and install the Bot Framework Emulator
- Download and install the Azure Functions CLI
- Download and install the .NET Core CLI
- Install the Command Task Runner Visual Studio Extension
- Start debugging
- NGROK
At least initially this work seemed like a big amount of work, but in the end it turned out to flow pretty well and it all worked without any serious, time intensive debugging.
Installed Visual Studio 2015 Community on a Windows 10 N virtual machine on Azure
Instead of using my work machine to install the components needed to setup the Bot debugging environment I decided to create an Azure VM instead. I picked the Windows 10 Enterprise N version and then installed Visual Studio 2015 Community edition. No problems there.
Setup my source code repository
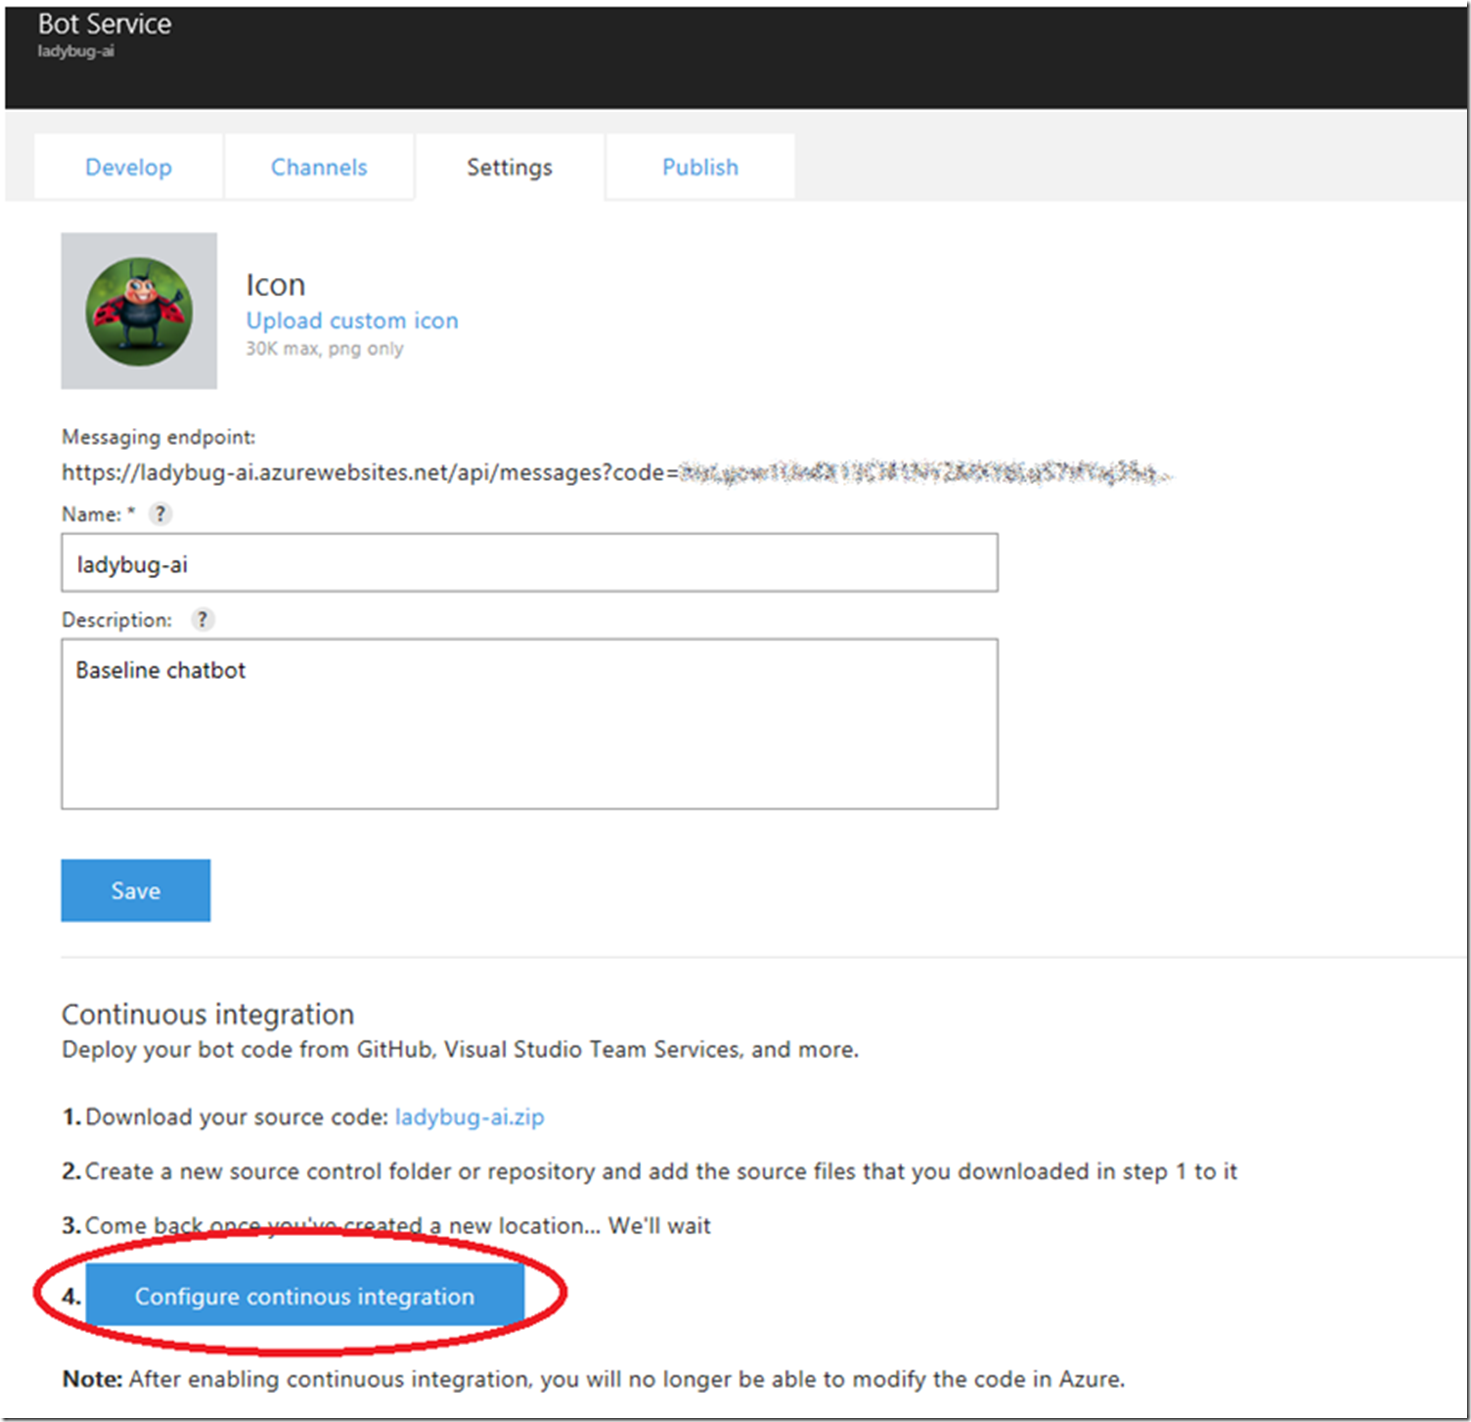
Here are some instructions for setting up the continuous deployment repository. When you enable this you are no longer able to make modifications within the console itself. I chose to use my OneDrive account, as this is just a proof of concept I do not think I need version control nor will I need to setup any additional users. Download a local copy of you source by clicking on the ZIP file and then configure the source code repository by clicking on the Configure continuous integration as shown in Figure 1.
Figure 1, building a Bot Services bot
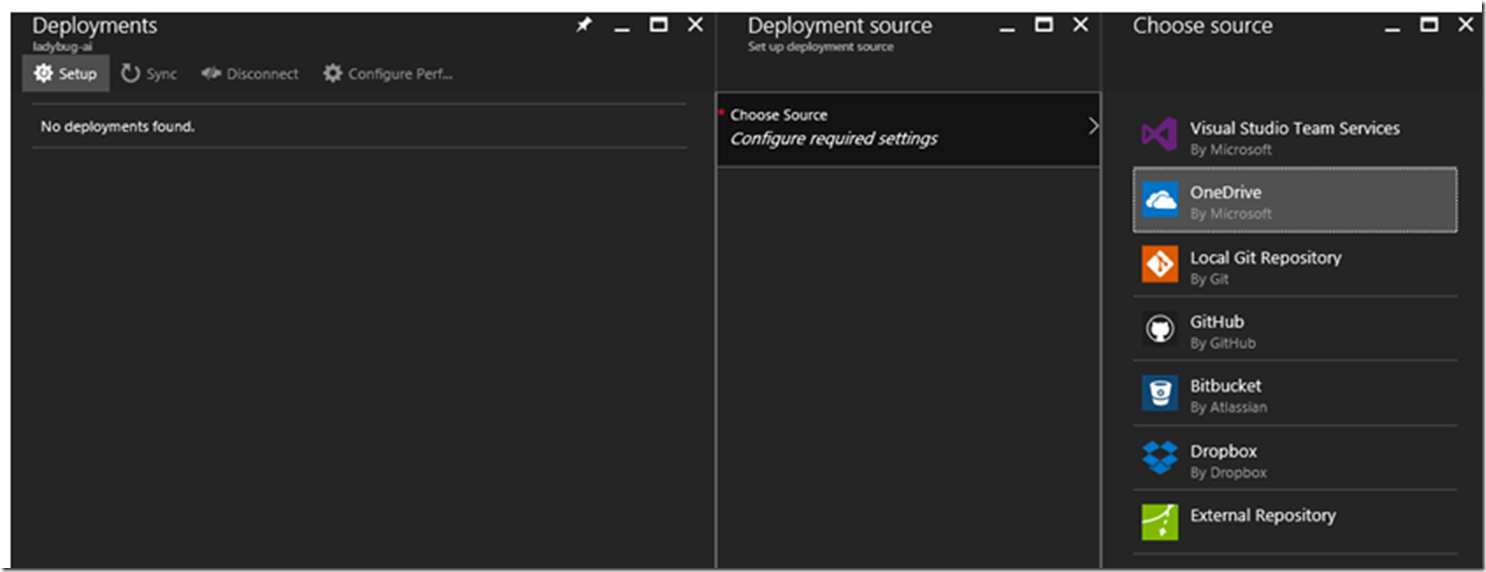
Then, I selected OneDrive and provided the required settings, similar to that shown in Figure 2.
Figure 2, configure continuous deployment on Bot Services
Once configured hit the Sync button. I had the OneDrive in my Windows Explorer and once it synced it did not show in Windows Explorer, but when I went to OneDrive.com and logged in I did see it there. I simply needed to right-click on my OneDrive mapping in Windows Explorer and select the folder for syncing, then all was good. In the instructions here where it says to download a local copy of the source, at this point I am not sure what I need to do with that source code, but will keep it on my VM until I see the reason, maybe it comes later.
Download install the Bot Framework Emulator
Download and install the Bot Framework Emulator from here. I clicked on the ‘Bot Framework Emulator (Mac and Windows)’ link in the Tools section. It currently downloads a file called ‘botframework-emulator-Setup-3.5.20.exe’ from emulator.botframework.com. Running the EXE started with that shown in Figure 3.
Figure 3, installing the Bot Framework Emulator for debugging a Bot Service hosted on Azure
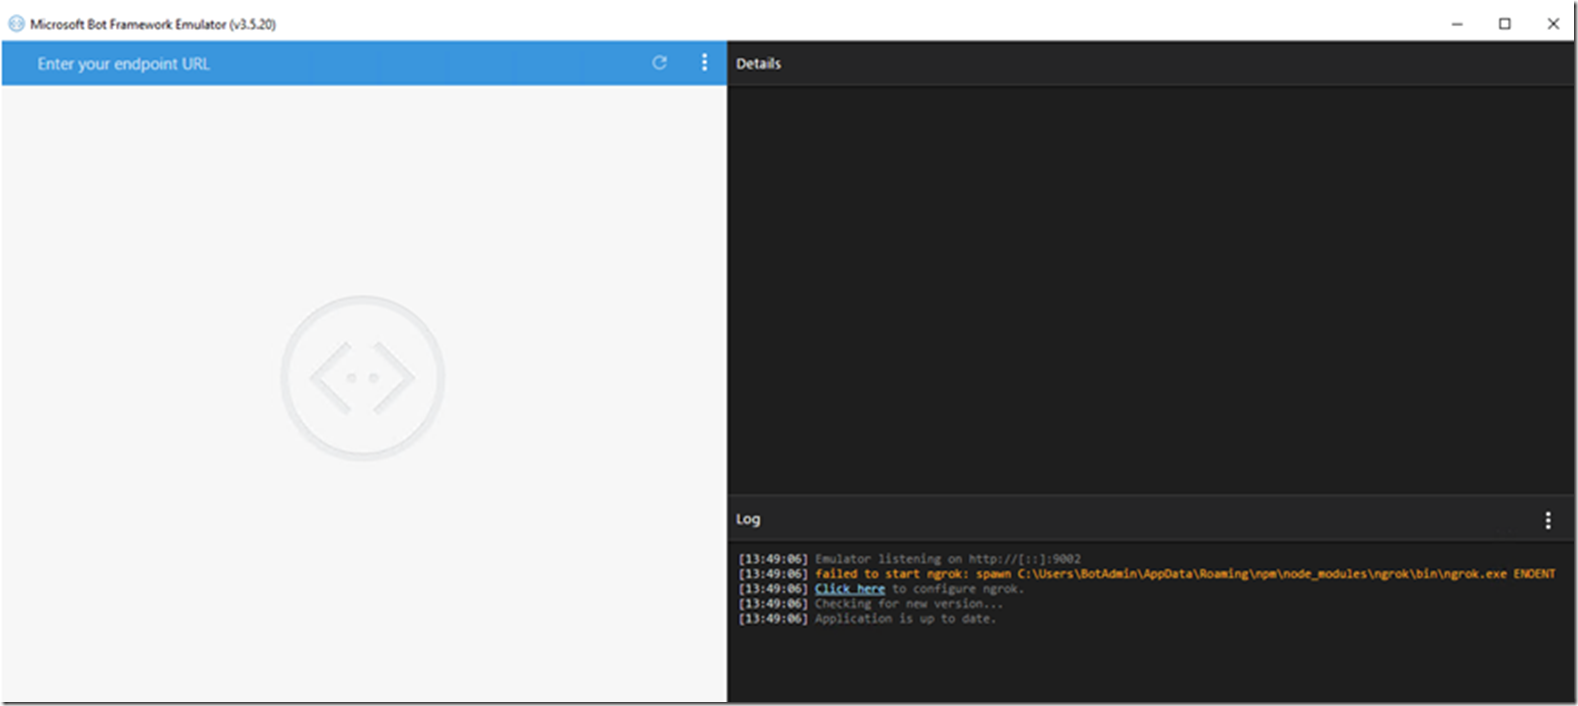
Once the installation was completed, the image shown in Figure 4 was rendered.
Figure 4, the bot framework emulator for debugging my Bot hosted on Azure using Bot Services
There is an error mentioning NGROK, but I have not yet completed all the installations so I will ignore that for now. I do recall NGROK from when I was troubleshooting a Bot, using the Bot Framework, but that was when the Bot Framework was hosted on an Azure App Services Web App and not the Azure Bot Services. The article I documented that is here, ‘Bot Framework 405 Method Not Allowed, 401 Unauthorized and 500, Internal Server Error getting started’. I closed down the Bot Framework Emulator that I just installed and moved on to the remaining components.
Download and install the Azure Functions CLI
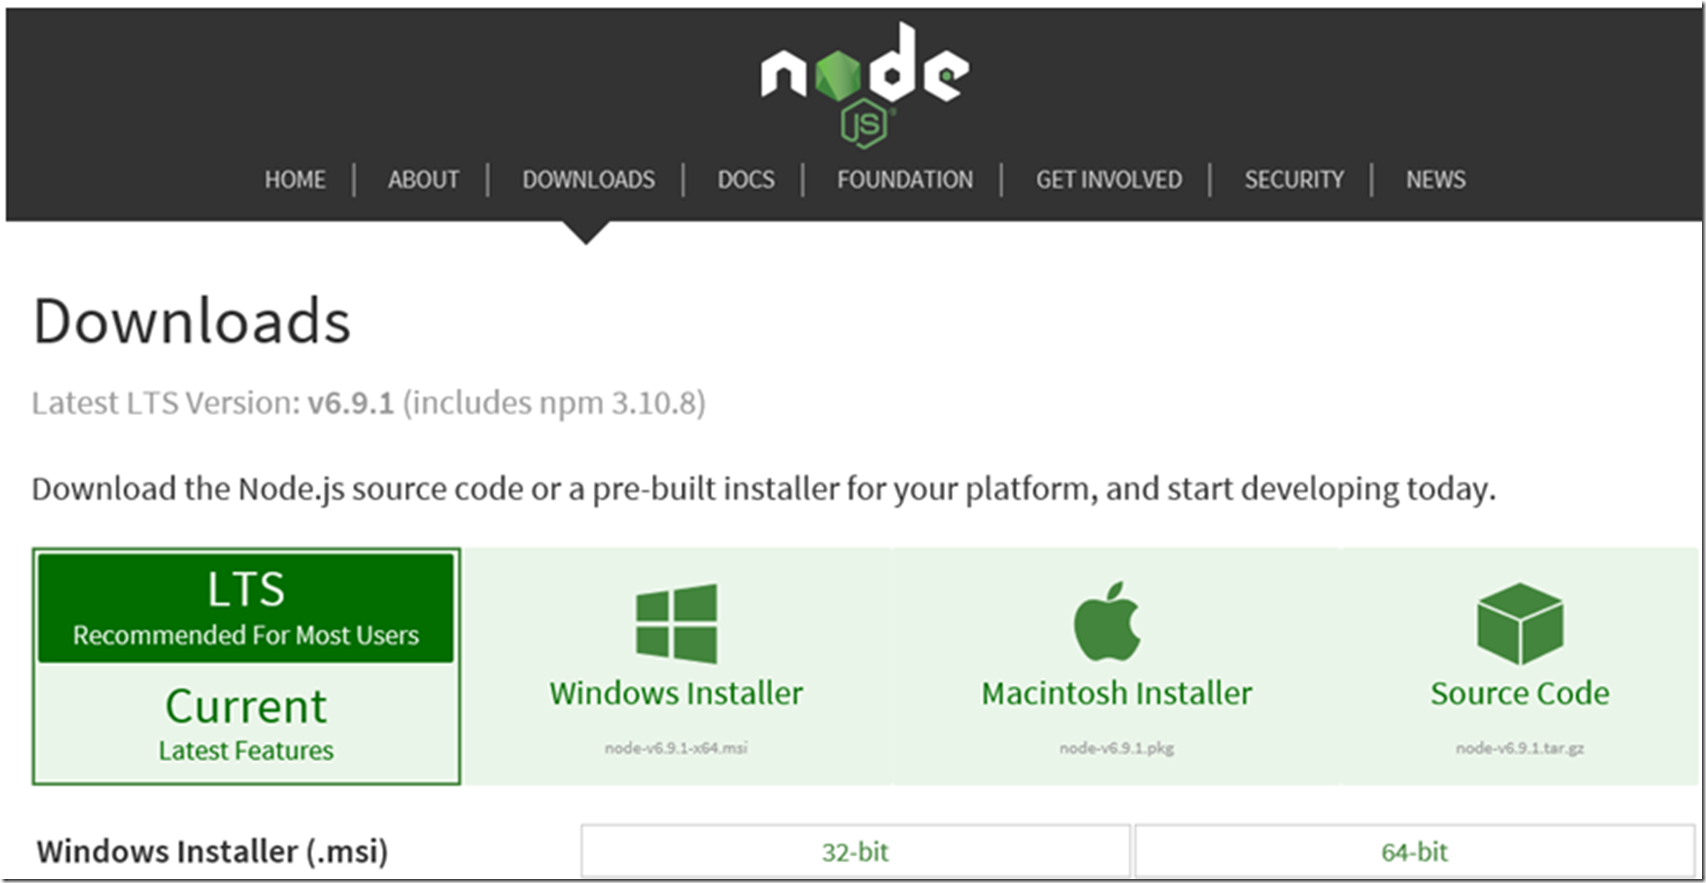
Before installing the Azure Functions CLI, you will need NPM, NPM is a command-line tool that is bundled with Node.js, I downloaded it from here, Node.js contains NPM. I downloaded 64-bit, Windows Installer (.msi) version of LTS v6.9.1, similar to that shown in Figure 5.
Figure 5, installing node.js and NPM for installing and configuring a debug environment for Bot Services
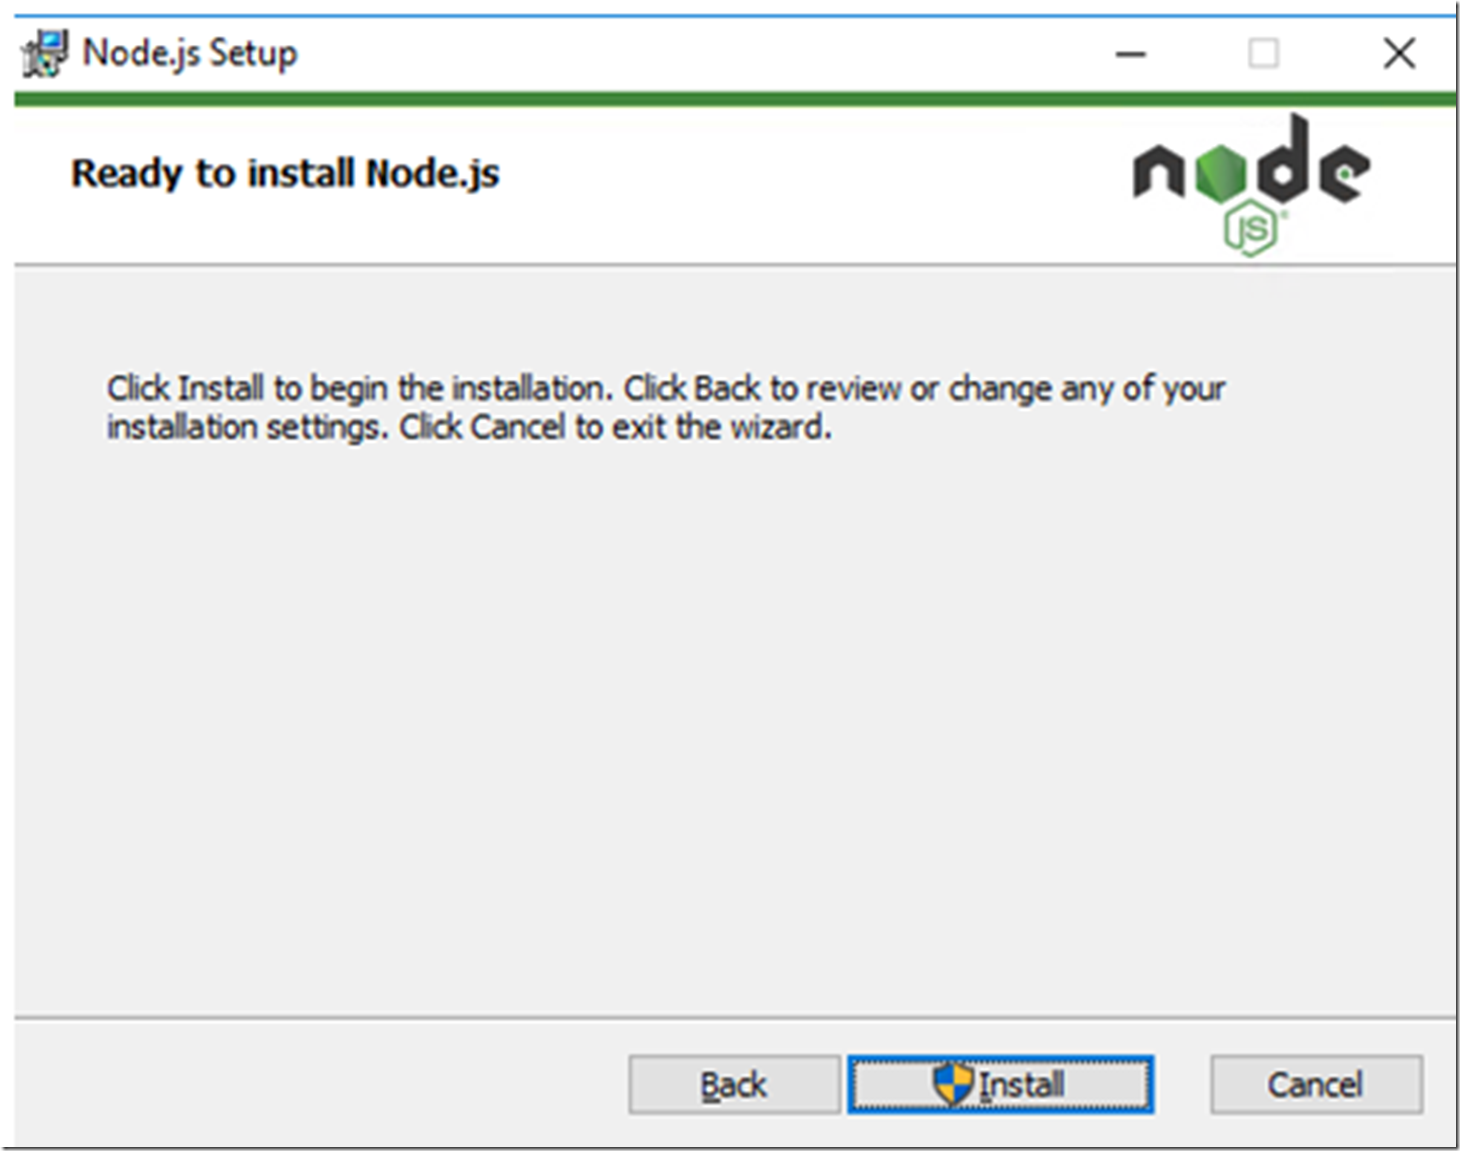
I accepting all of the defaults and installed node.js as shown in Figure 6.
Figure 6, install node.js to get NPM for azure-functions.cli installation
Information about Azure Functions CLI can be seen here. Navigate to directory where you installed node.js and execute this command, also shown in Figure 7:
npm i –g azure-functions-cli
Figure 7, install azure-functions-cli for getting aliases for func, azfun and azure-functions, used for debugging Azure Bot Services
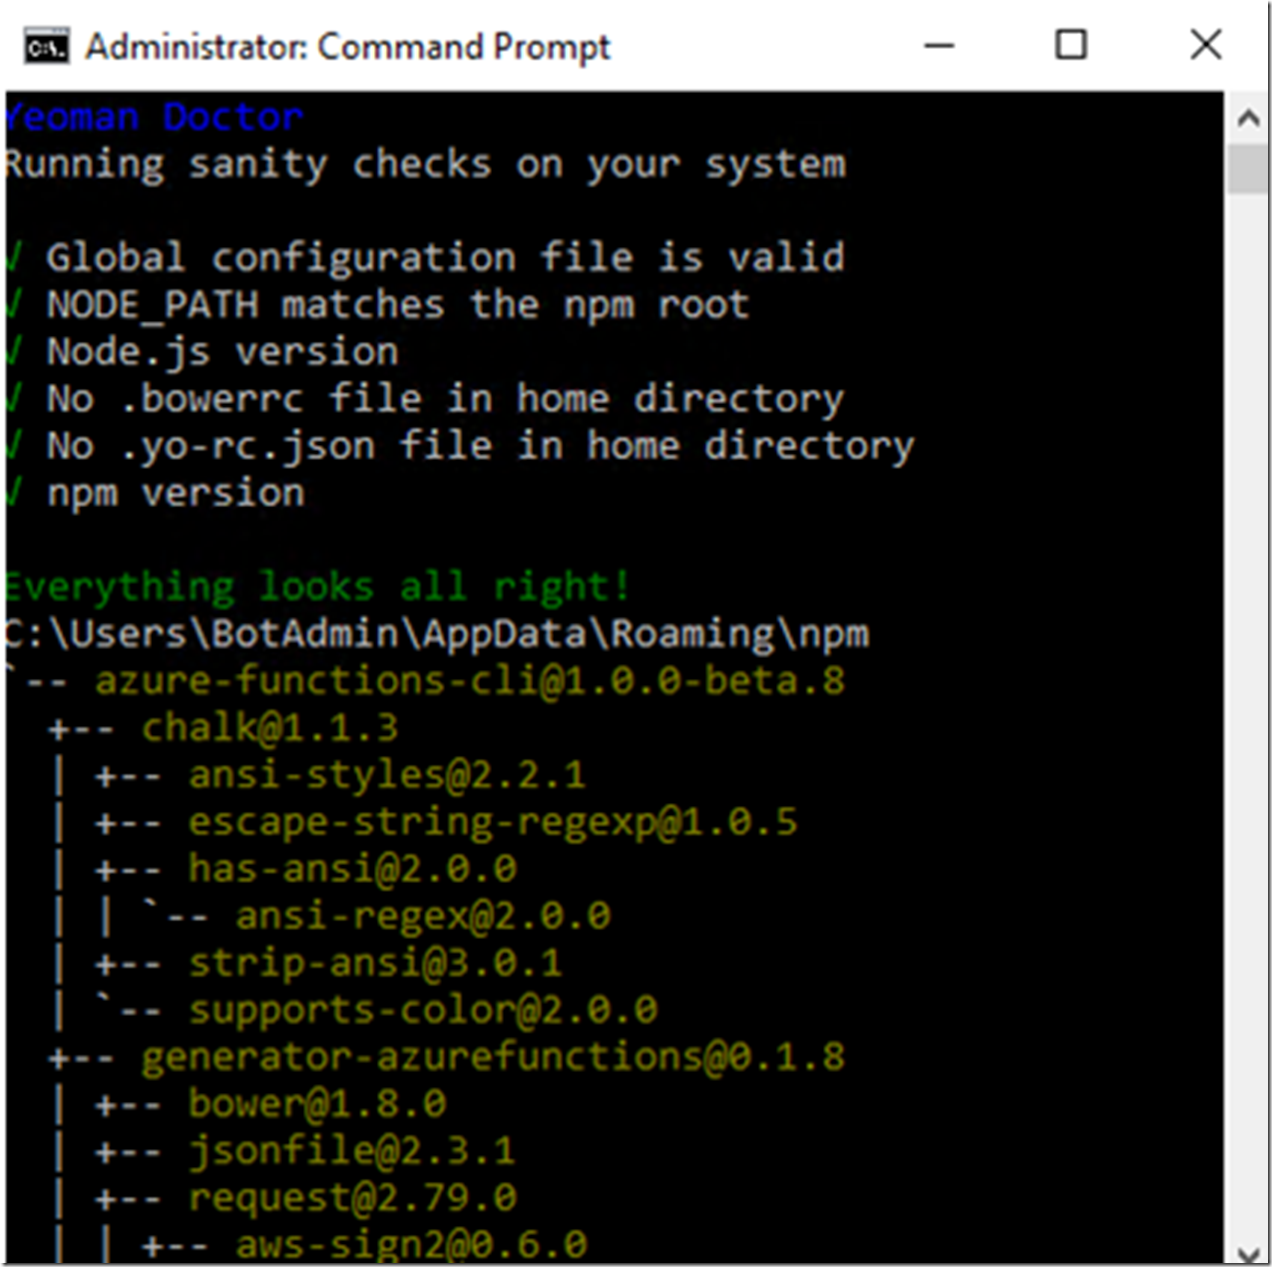
Once complete, you should, at least I saw the following result, Figure 8, glad to see ‘Everything looks all right’ in green.
Figure 8, successful installation of azure-functions-cli for debugging a chatbot
I exited out of the CMD prompt and went onto install the last component.
Download and install the .NET CLI
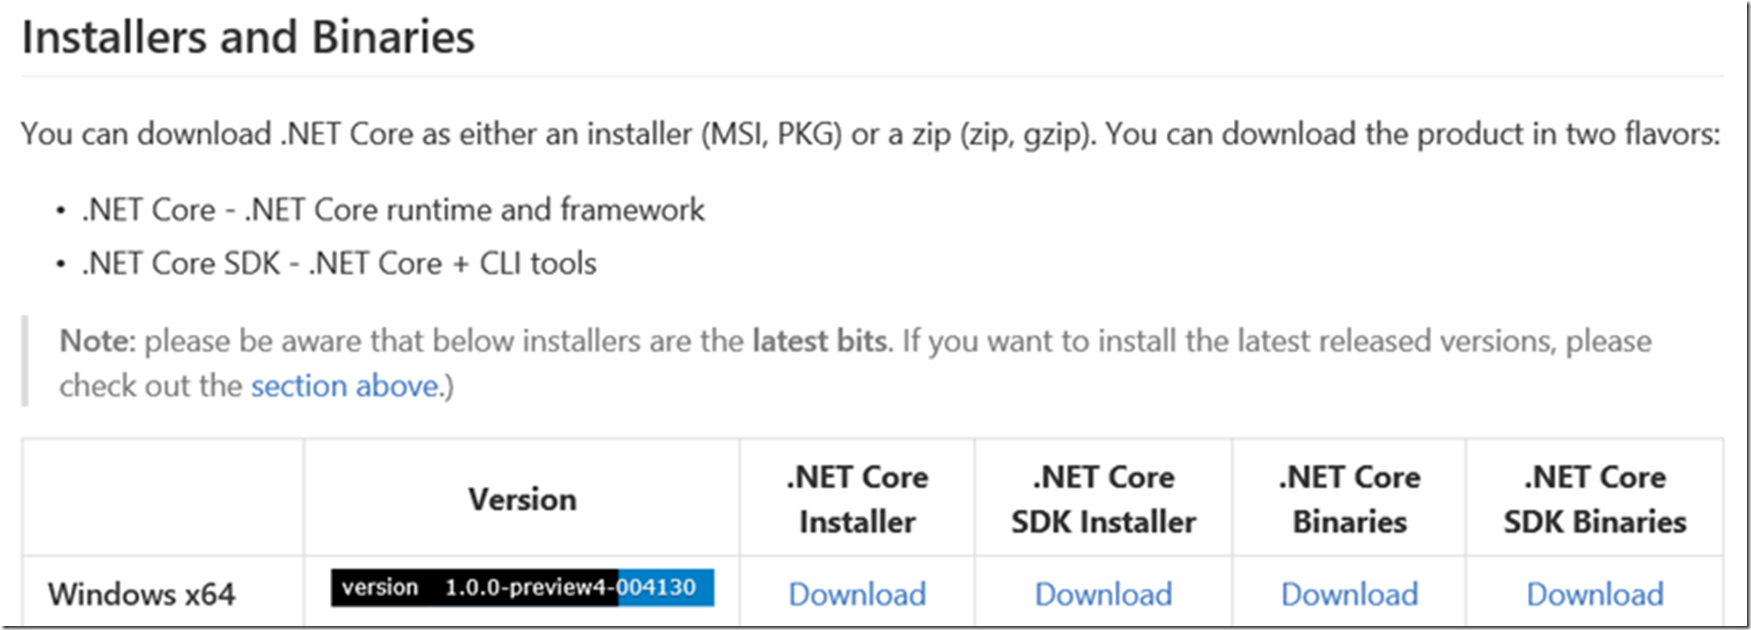
Download the .NET Core CLI from here. Scroll down until you see the Installers and Binaries section, similar to that shown in Figure 9. I chose again the Windows x64 and the .NET Core Installer and the .NET Core SDK Installer.
Figure 9, the .NET Core CLI for debugging a #chatbot
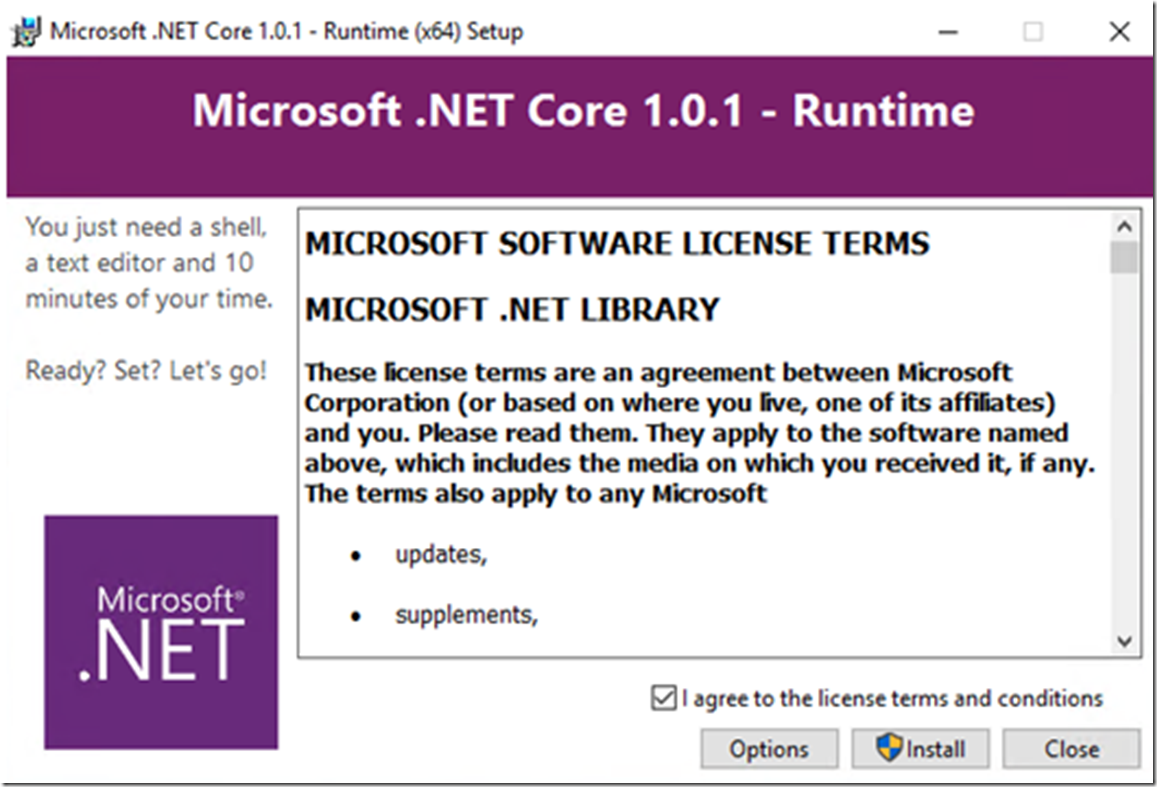
The .NET Core Installer file was called dotnet-win-x64.latest, v1.0.1.4519, 25,875KB. The .NET Core SDK Installer was called dotnet-dev-win-x64.latest v1.0.0.4130. Execute the files, accept the terms, Figure 10 and complete the installation.
Figure 10, install .NET Core CLI for debugging a #chatbot hosted on Azure Bot Services
One more component to go and that’s it.
Install the Command Task Runner Visual Studio Extension
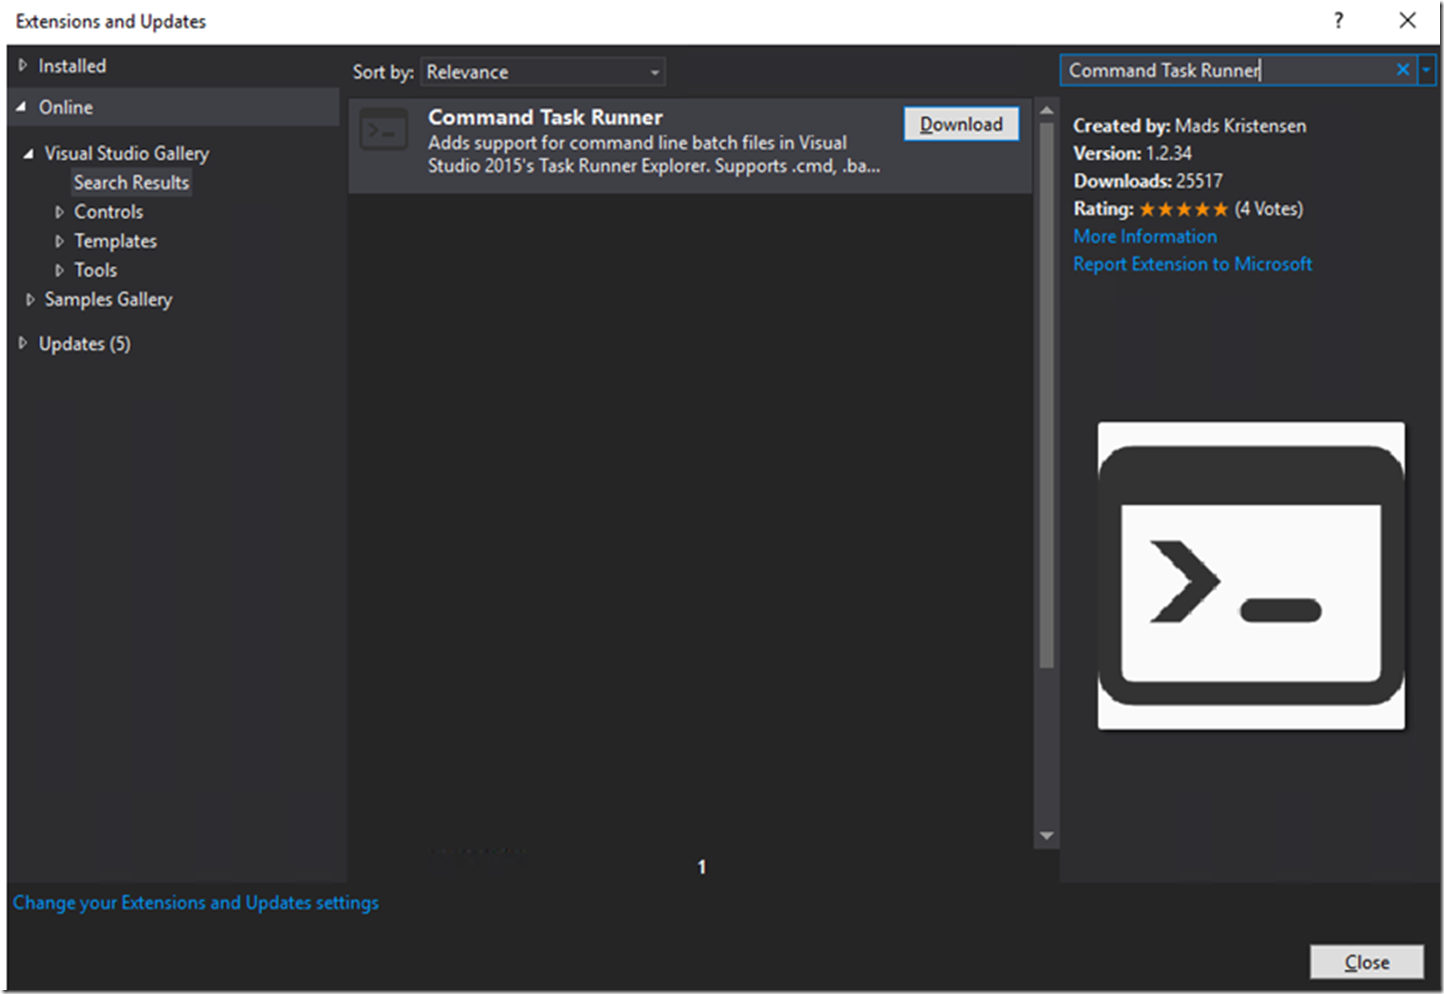
Install the extension by selecting Tools –> Extensions and Updates. Then search Online for ‘Command Task Runner’ and download the extension. You should see something similar to that in Figure 11.
Figure 11, download and install the command task runner extension for troubleshooting the #chatbot hosted on Azure
Restart Visual Studio after the installation and let’s get ready to rock! Now that all the components required to debug the #chatbot, let’s start debugging.
Start debugging
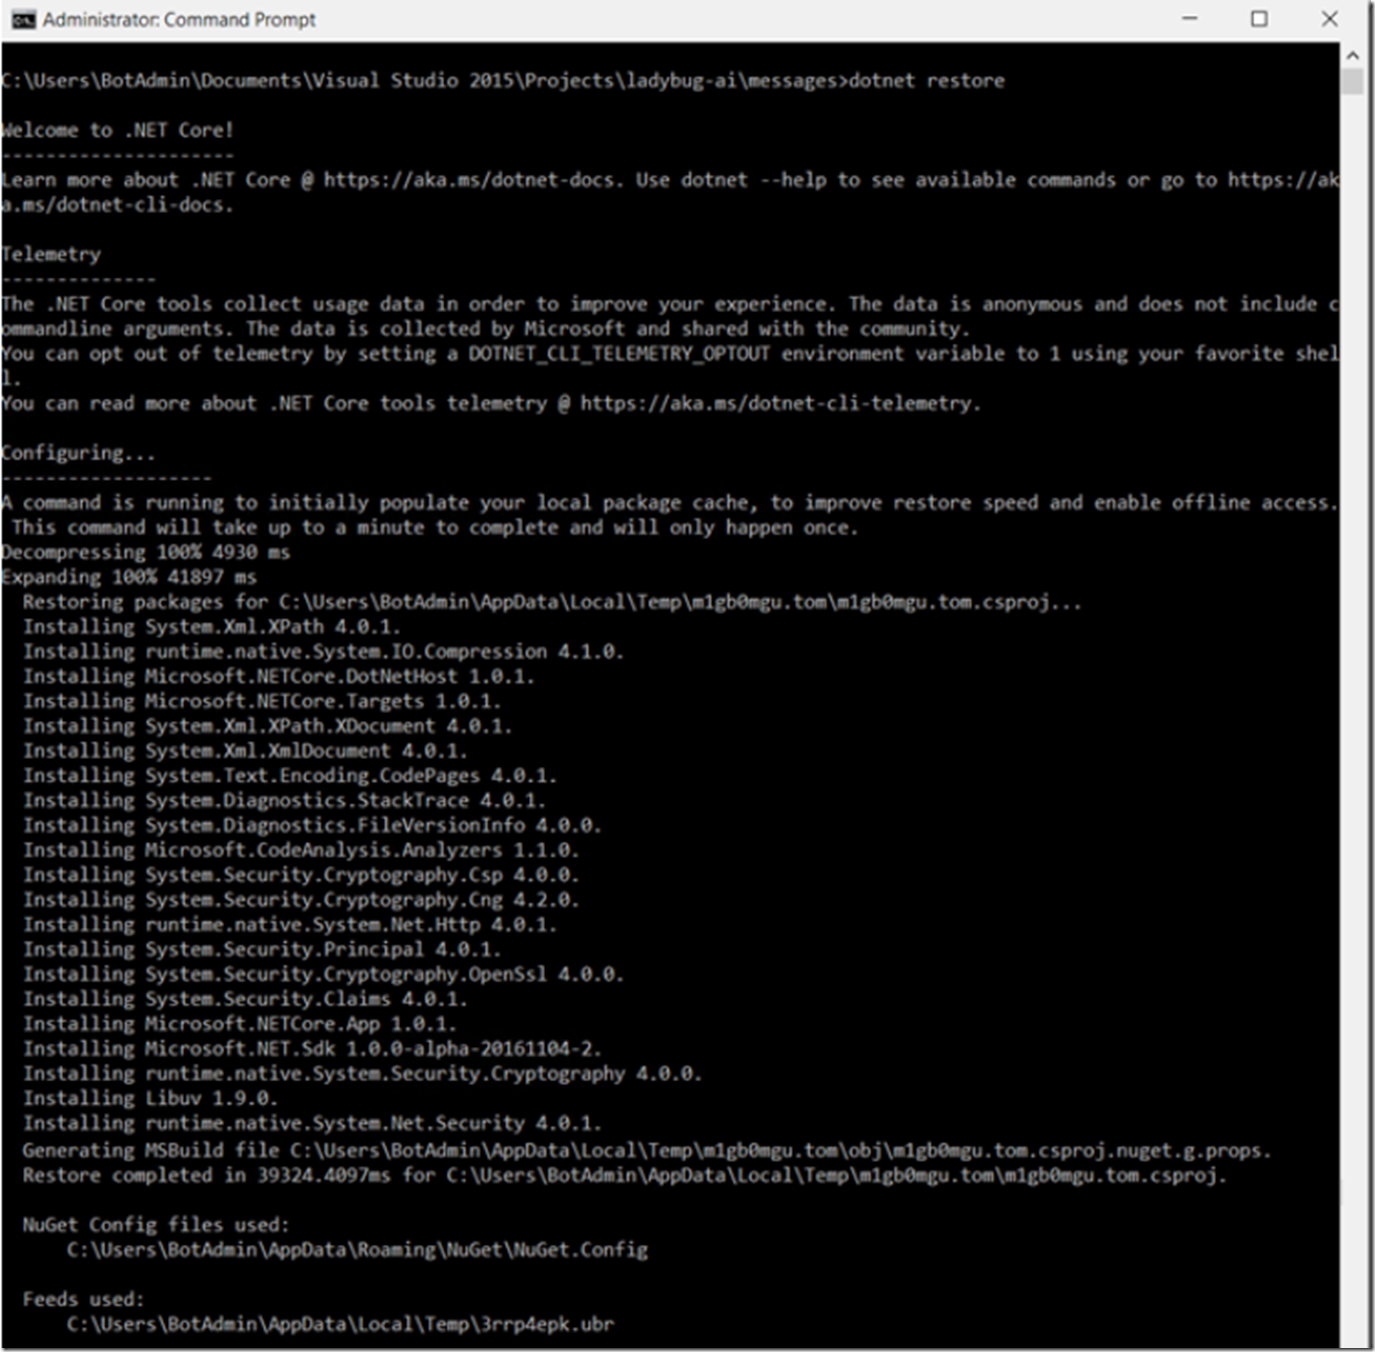
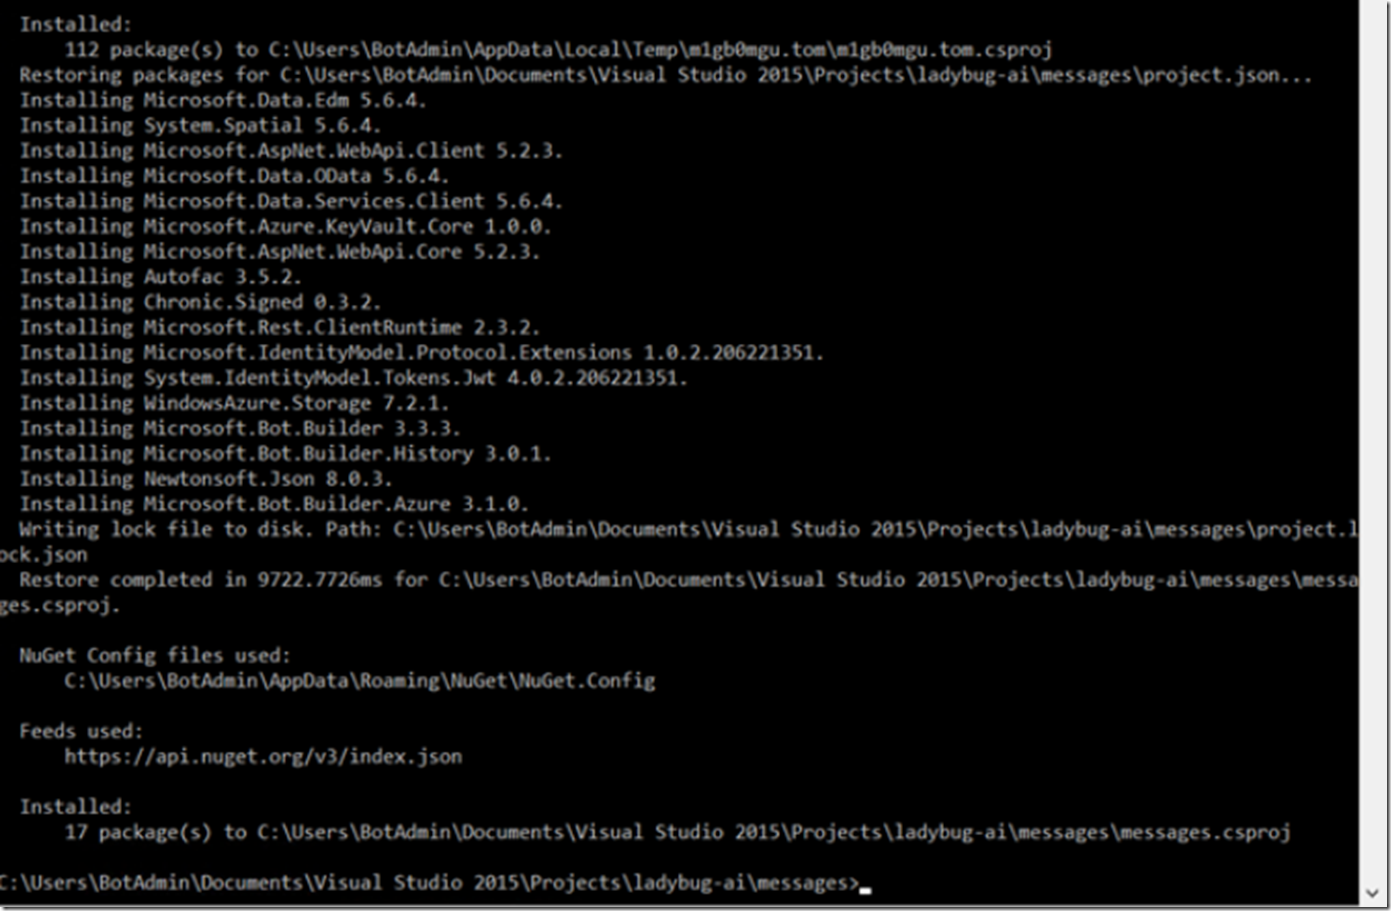
To get all the references setup so that the code can be run you need to execute this command also shown in Figure 12:
dontnet restore
You need to download bf-dotnetpreview3-debug-csproj.zip and put the messages file into the messages folder. You can download it from here, search for ‘csproj’.
Figure 12, run dotnet restore to install the binaries required to debug the #chatbot
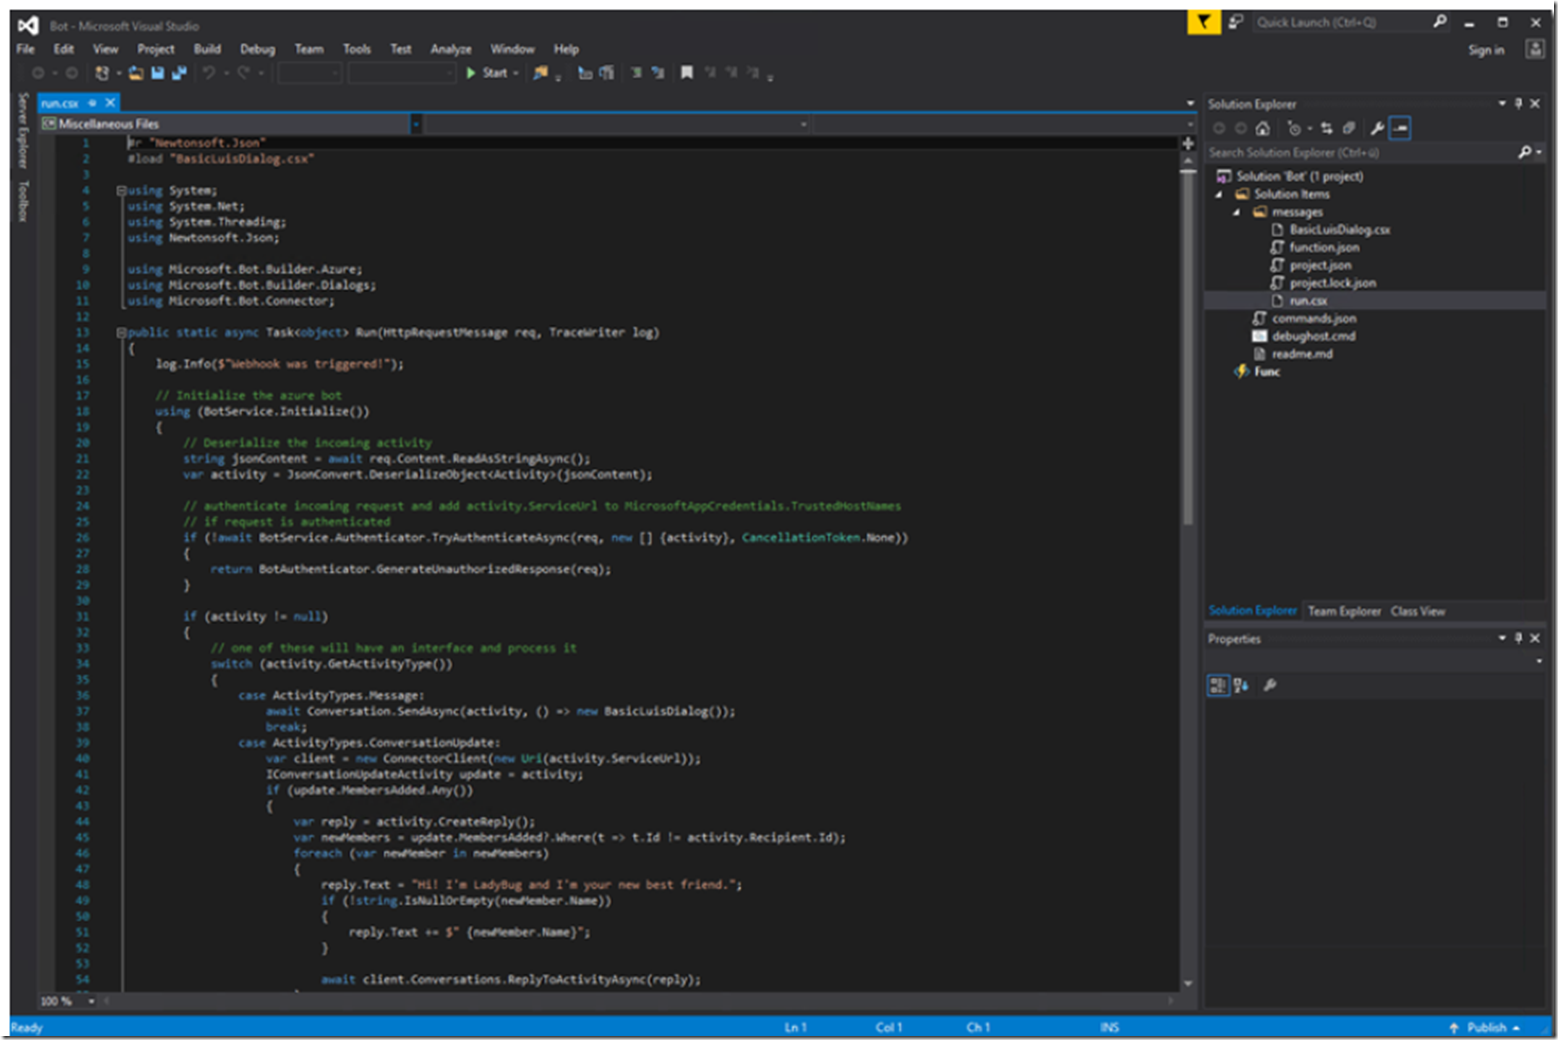
Open Visual Studio and use the code from the Azure Bot Services portal in step 2. Then open it up in Visual Studio as shown in Figure 13.
Figure 13, creating and debugging a #chatbot using Visual Studio and Azure Bot Services
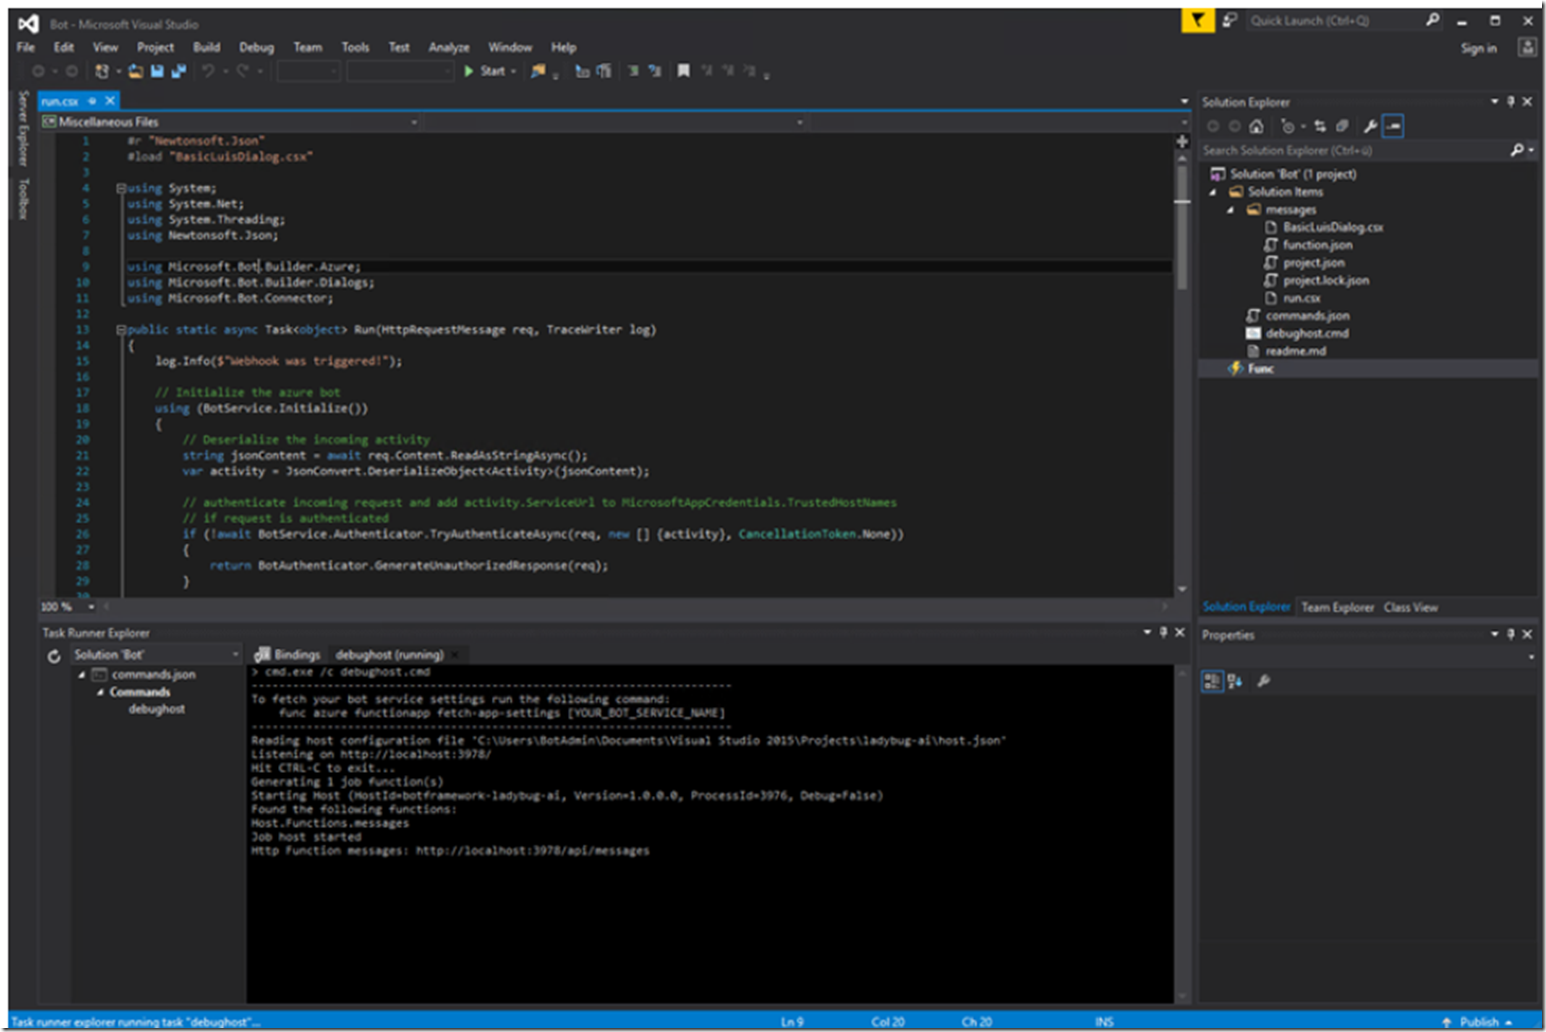
Open the Command Task Runner Explorer window. If you do not see the window, select View –> Other Windows –> Task Runner Explorer or press CTRL + ALT + Backspace, it will open as shown in Figure 14.
Figure 14, task runner explorer for debugging a chatbot on Azure Bot Services
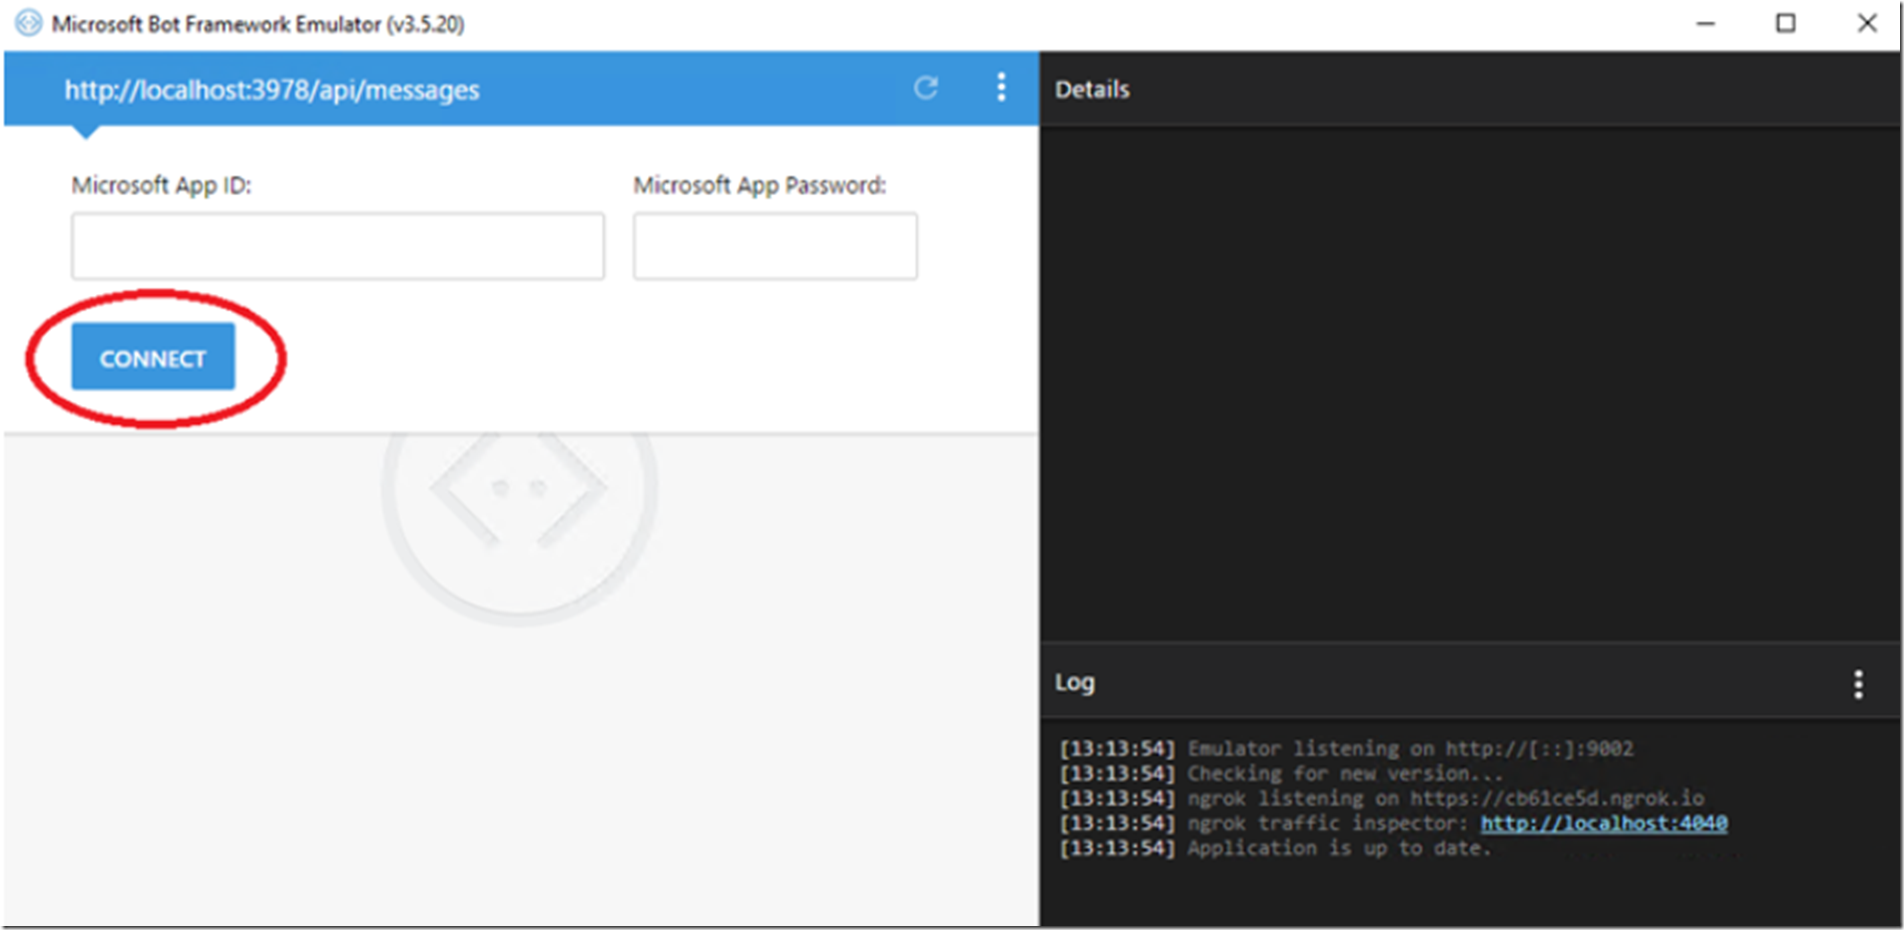
Next, start the Bot Framework Emulator, note the last line in the Task Runner Explorer that identifies host and port it is listening to. As you do not need security for local debugging, leave the Microsoft App ID and the Microsoft App Password blank. Click on the CONNECT button and you will see the responses in the task runner explorer.
Figure 15, start the bot framework emulator for debugging the #chatbot running on Azure Bot Services
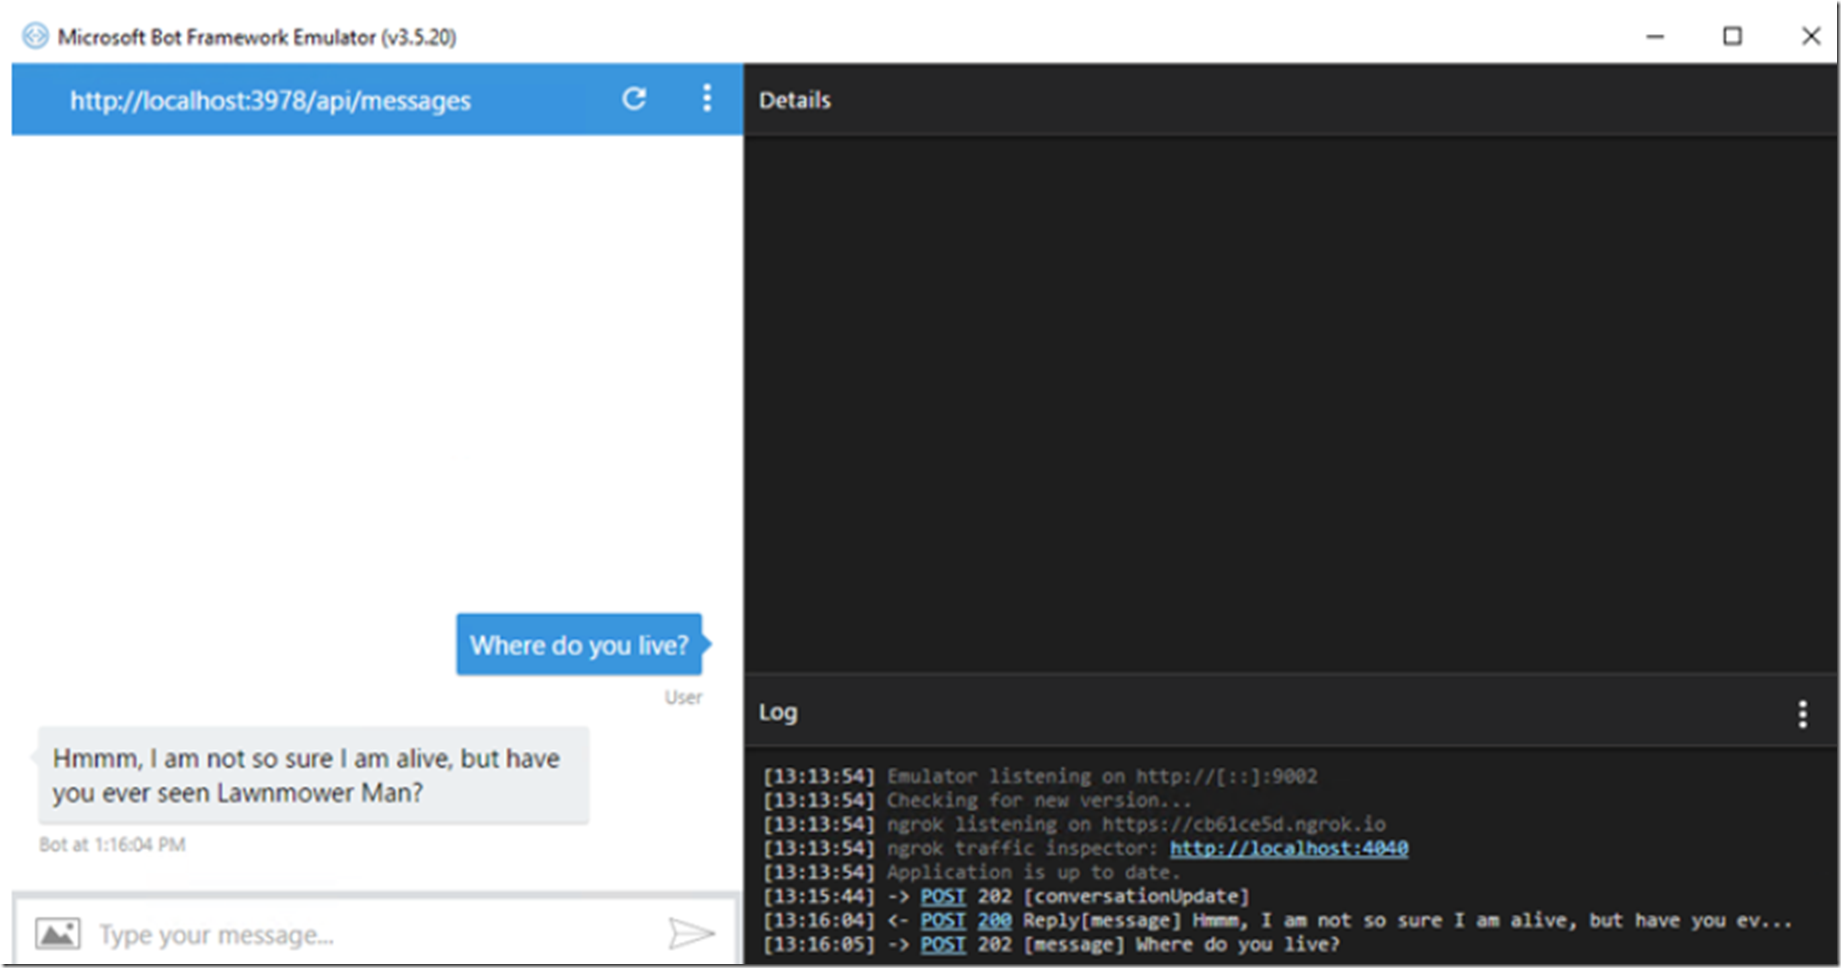
After pressing the connect button, you can then chat with the development instance of the Bot Service as shown in Figure 16.
Figure 16, chatting with a #chatbot using an Azure Bot Service in a development environment
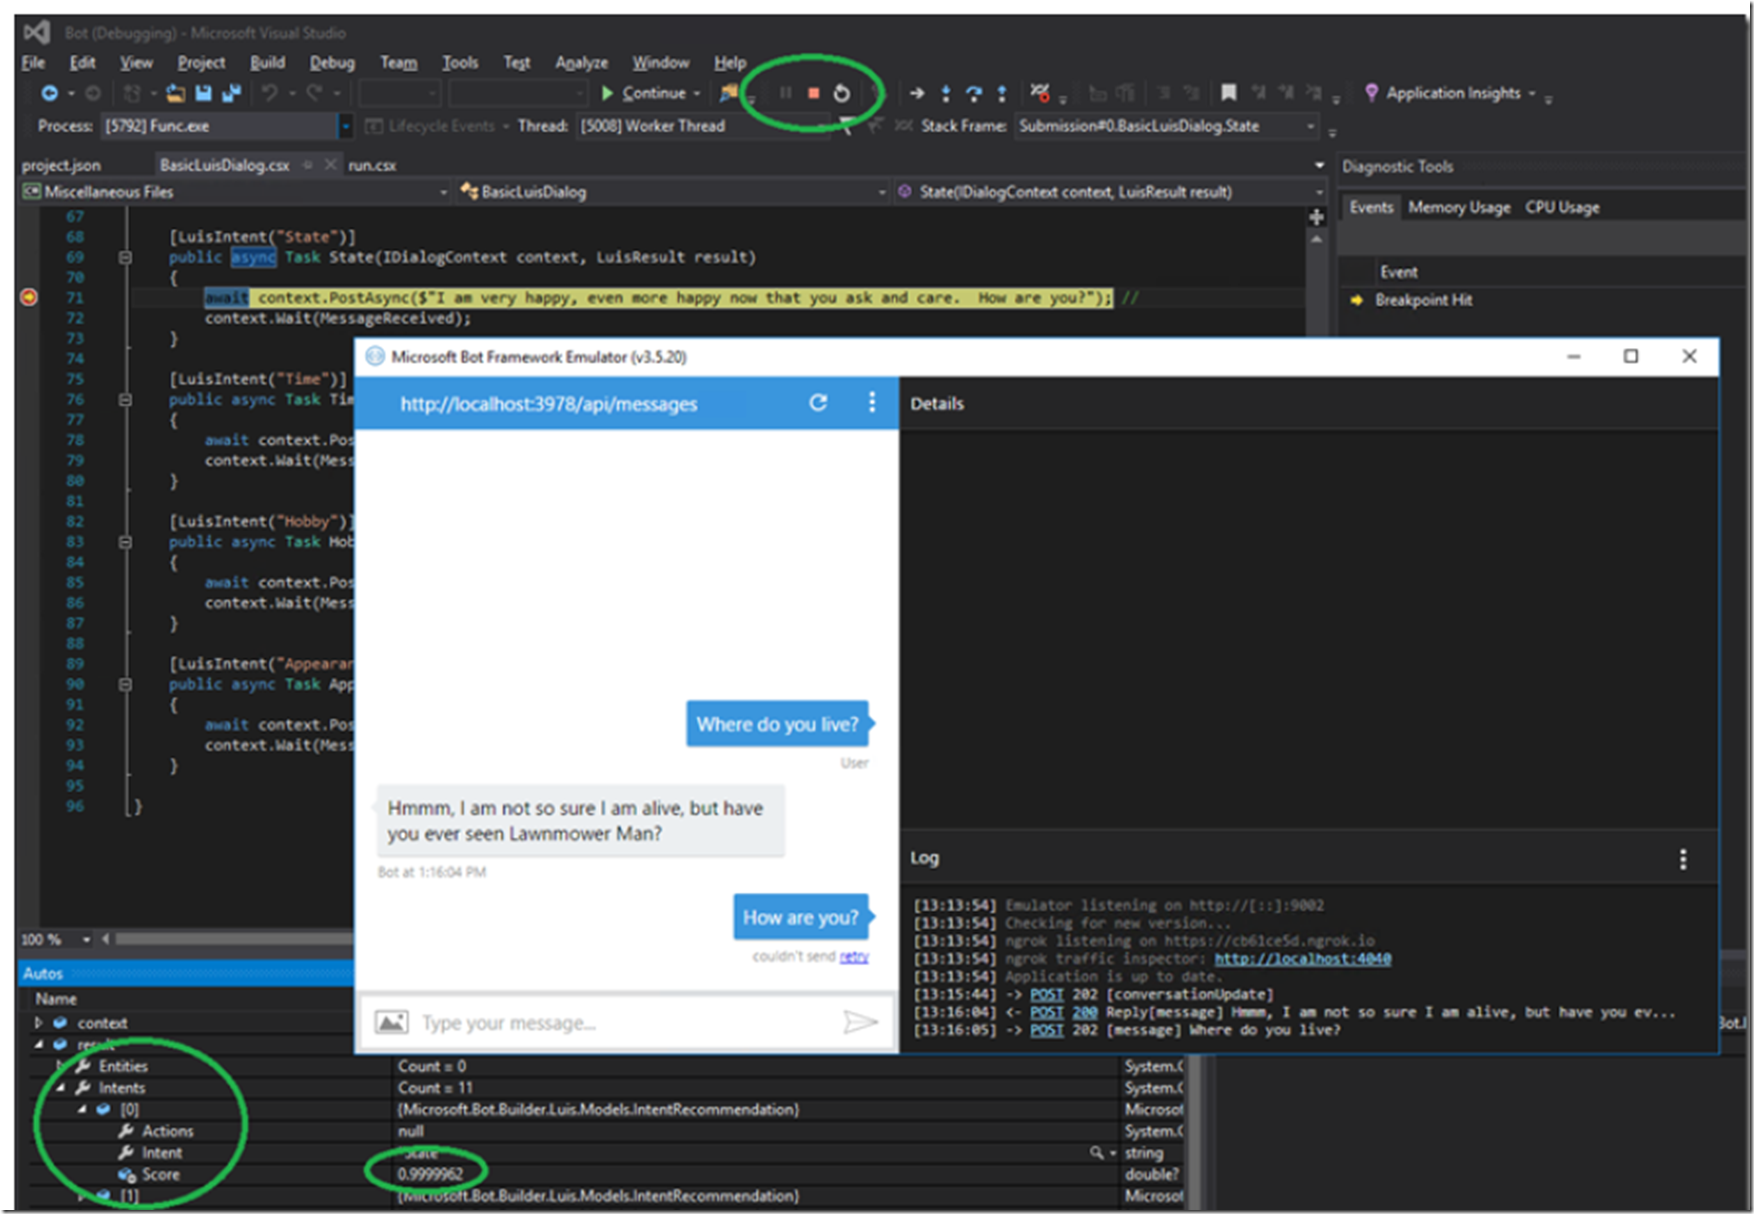
To setup breakpoints, you need to press the Start button from within Visual Studio, you set the breakpoints, same as you would when debugging any C# source code. Then you can look at the results and figure out how to reference them and make a super cool #chatbot. Check out the last figure of this awesome article, Figure 17. At least it was awesome once upon a time Smile
Figure 17, debugging an Azure Bot Service #chatbot
It’s time to rock! Wait I need to mention NGROK…
NGROK
Recall from Figure 4 where there was an error message mentioning that NGROK was no configured successfully. Then you see in Figure 15 and Figure 16 that the message is no longer there.
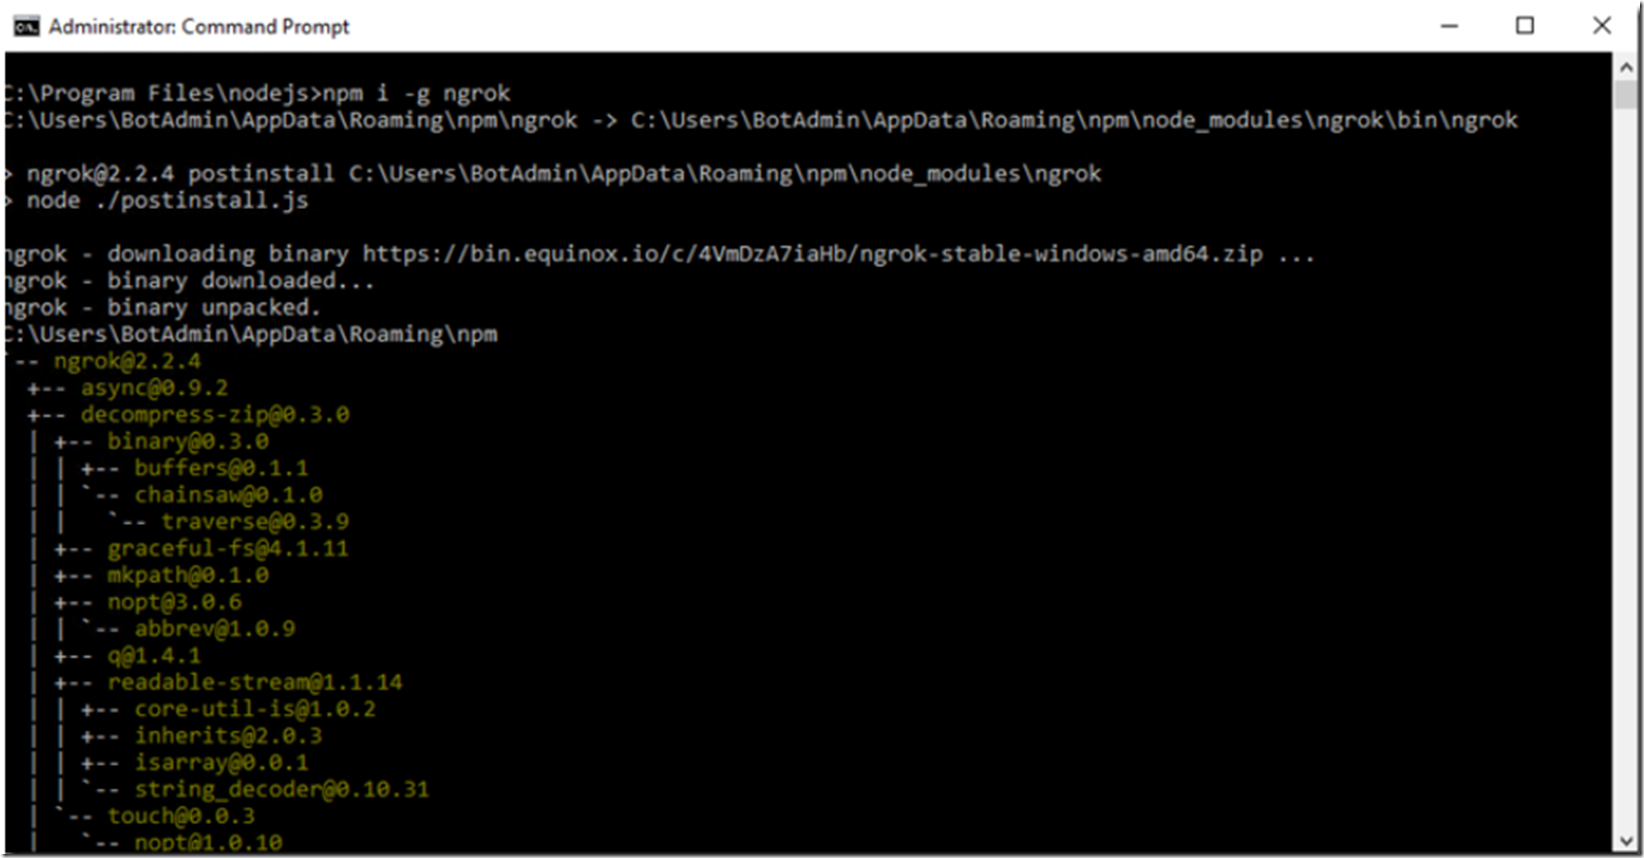
I resolved that by installing NGROK as described here. I ran this command and is represented in Figure 18, ok…Figure 17 was not actually the last figure, sorry…
npm i –g ngrok
Figure 18, install NGROK for use with an Azure Bot Service #chatbot
There was no other configuration required to make the error go away, it just worked, awesome. I did restart Visual Studio and the Bot Framework Emulator, however.
