If you have ever used a tool that allows you to view the request and response headers, you certainly know that there is some information being passed back and forth between the client and the server that is not simply visible.
An example of possible fields can be found here or here.
New in IIS 10 there is an additional attribute called removeServerHeader which can now remove this value, read about that here.
It is a relatively easy activity to add or modify custom headers and/or to add or modify ASP.Net or ASP.Net version numbers. Therefore, the way to add or modify them is not discussed here. The specific response header I want to discuss here is the Server field name.
The Server field name is special because IIS adds this value to the response of each request, by default. Using other means for its removal such as adding: to the section, does not result in its removal.
So how do you remove it?
There is a nice article here that shows how to change the value using a custom .NET module. That is a valid approach.
Another approach is to use an Outbound URL Rewrite rule.
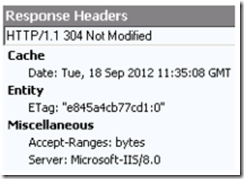
By default, when I access the Default Web Site on a IIS 8 web server I see the following Request Headers as shown in Figure 1. Notice the ***Server: Microsoft-IIS/8.0 ***field and value.
Figure 1, default IIS Response Headers
The question is, how can you change that using URL Rewrite?
Solution
The first step is to confirm you have the URL Rewrite module installed. I recommend using the Web Platform Installer to install it as shown in Figure 2.
Figure 2, install URL Rewrite using the Web Platform Installer
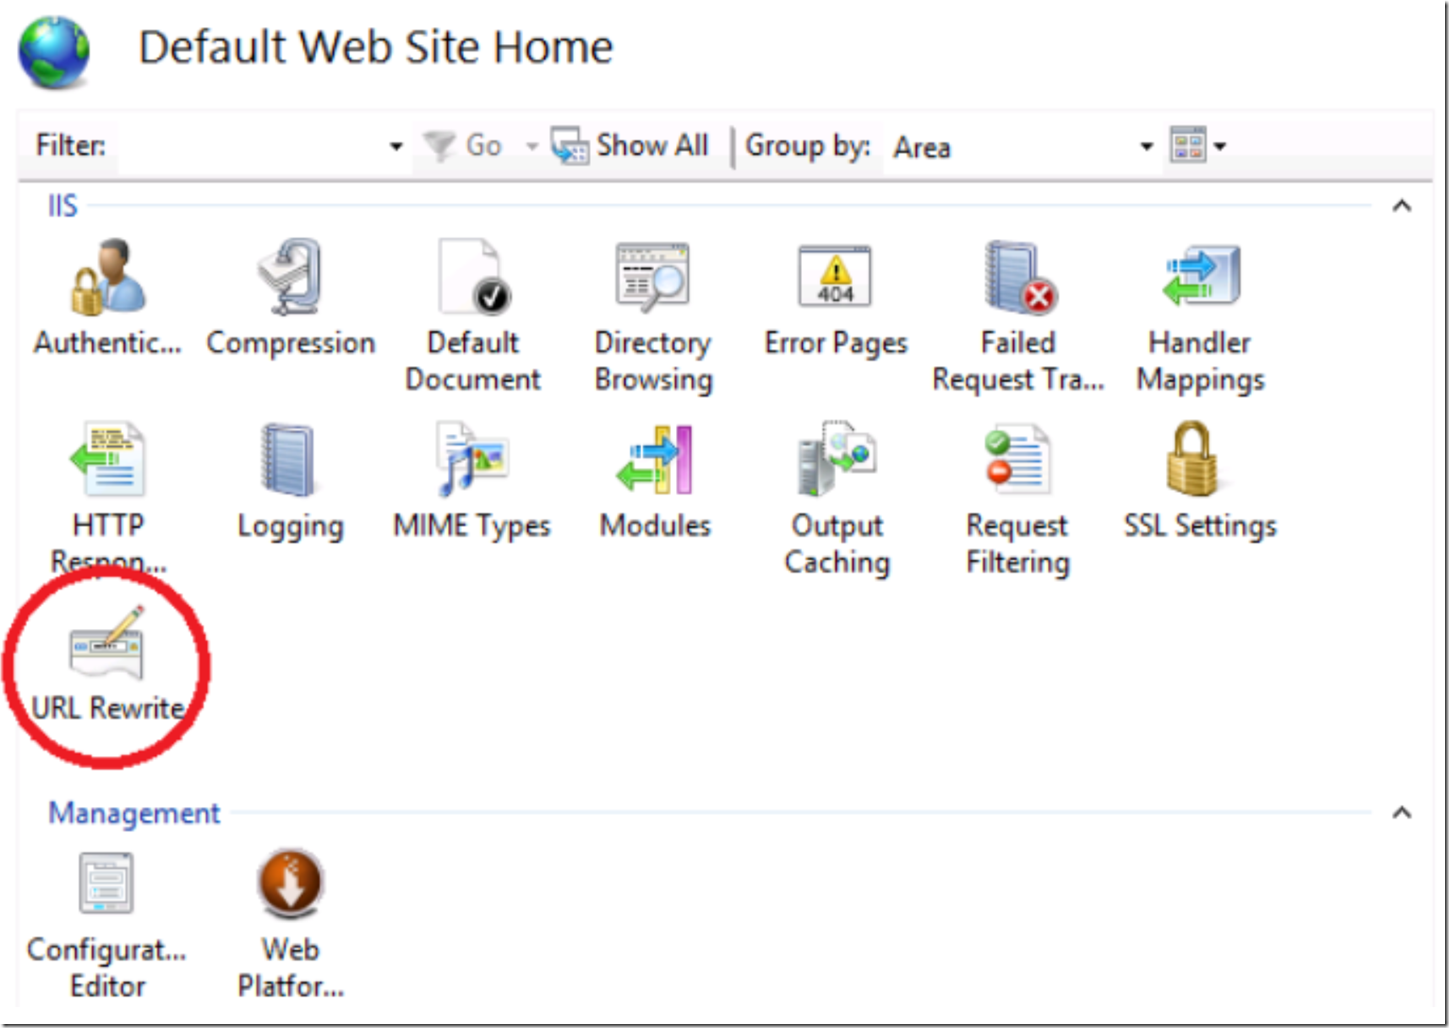
Once installed, click on the level (server, website, etc..) where you want to rule to be executed on and you will see the URL Rewrite icon as shown in Figure 3.
Figure 3, the URL Rewrite module
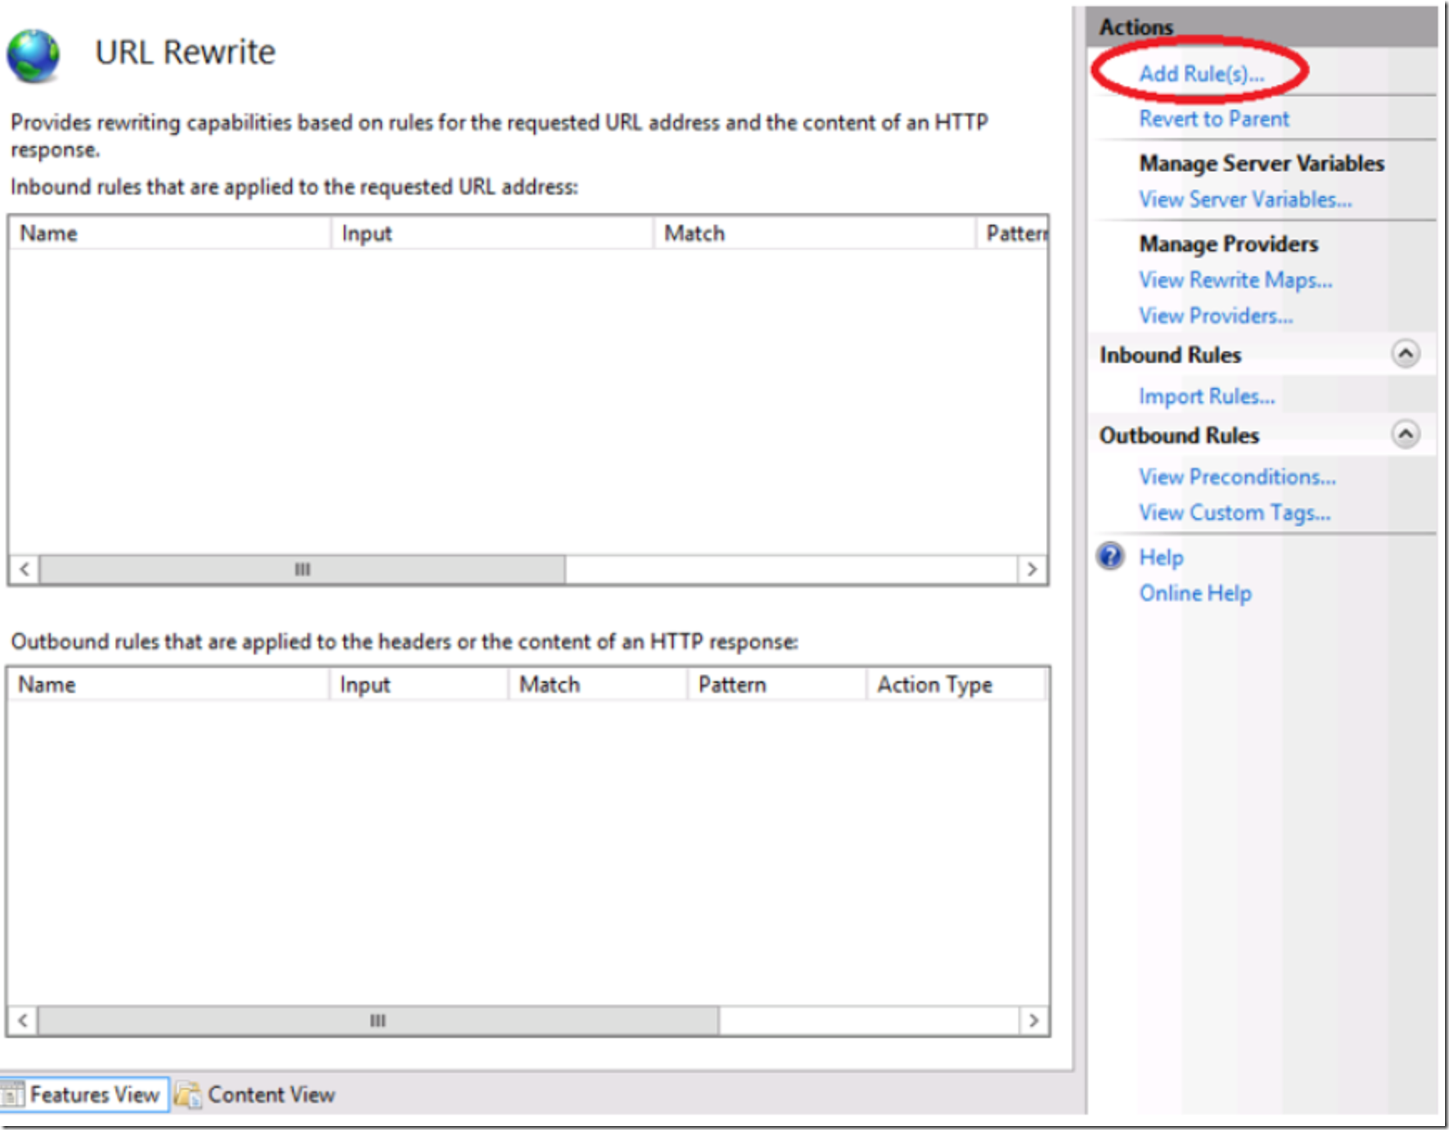
Double-click it to open the feature. Then, in the Actions pane, select the Add Rule(s)… link as shown in Figure 4 and create a ‘Blank rule’ of type ‘Outbound rules’.
Figure 4, Add Rule(s)… link
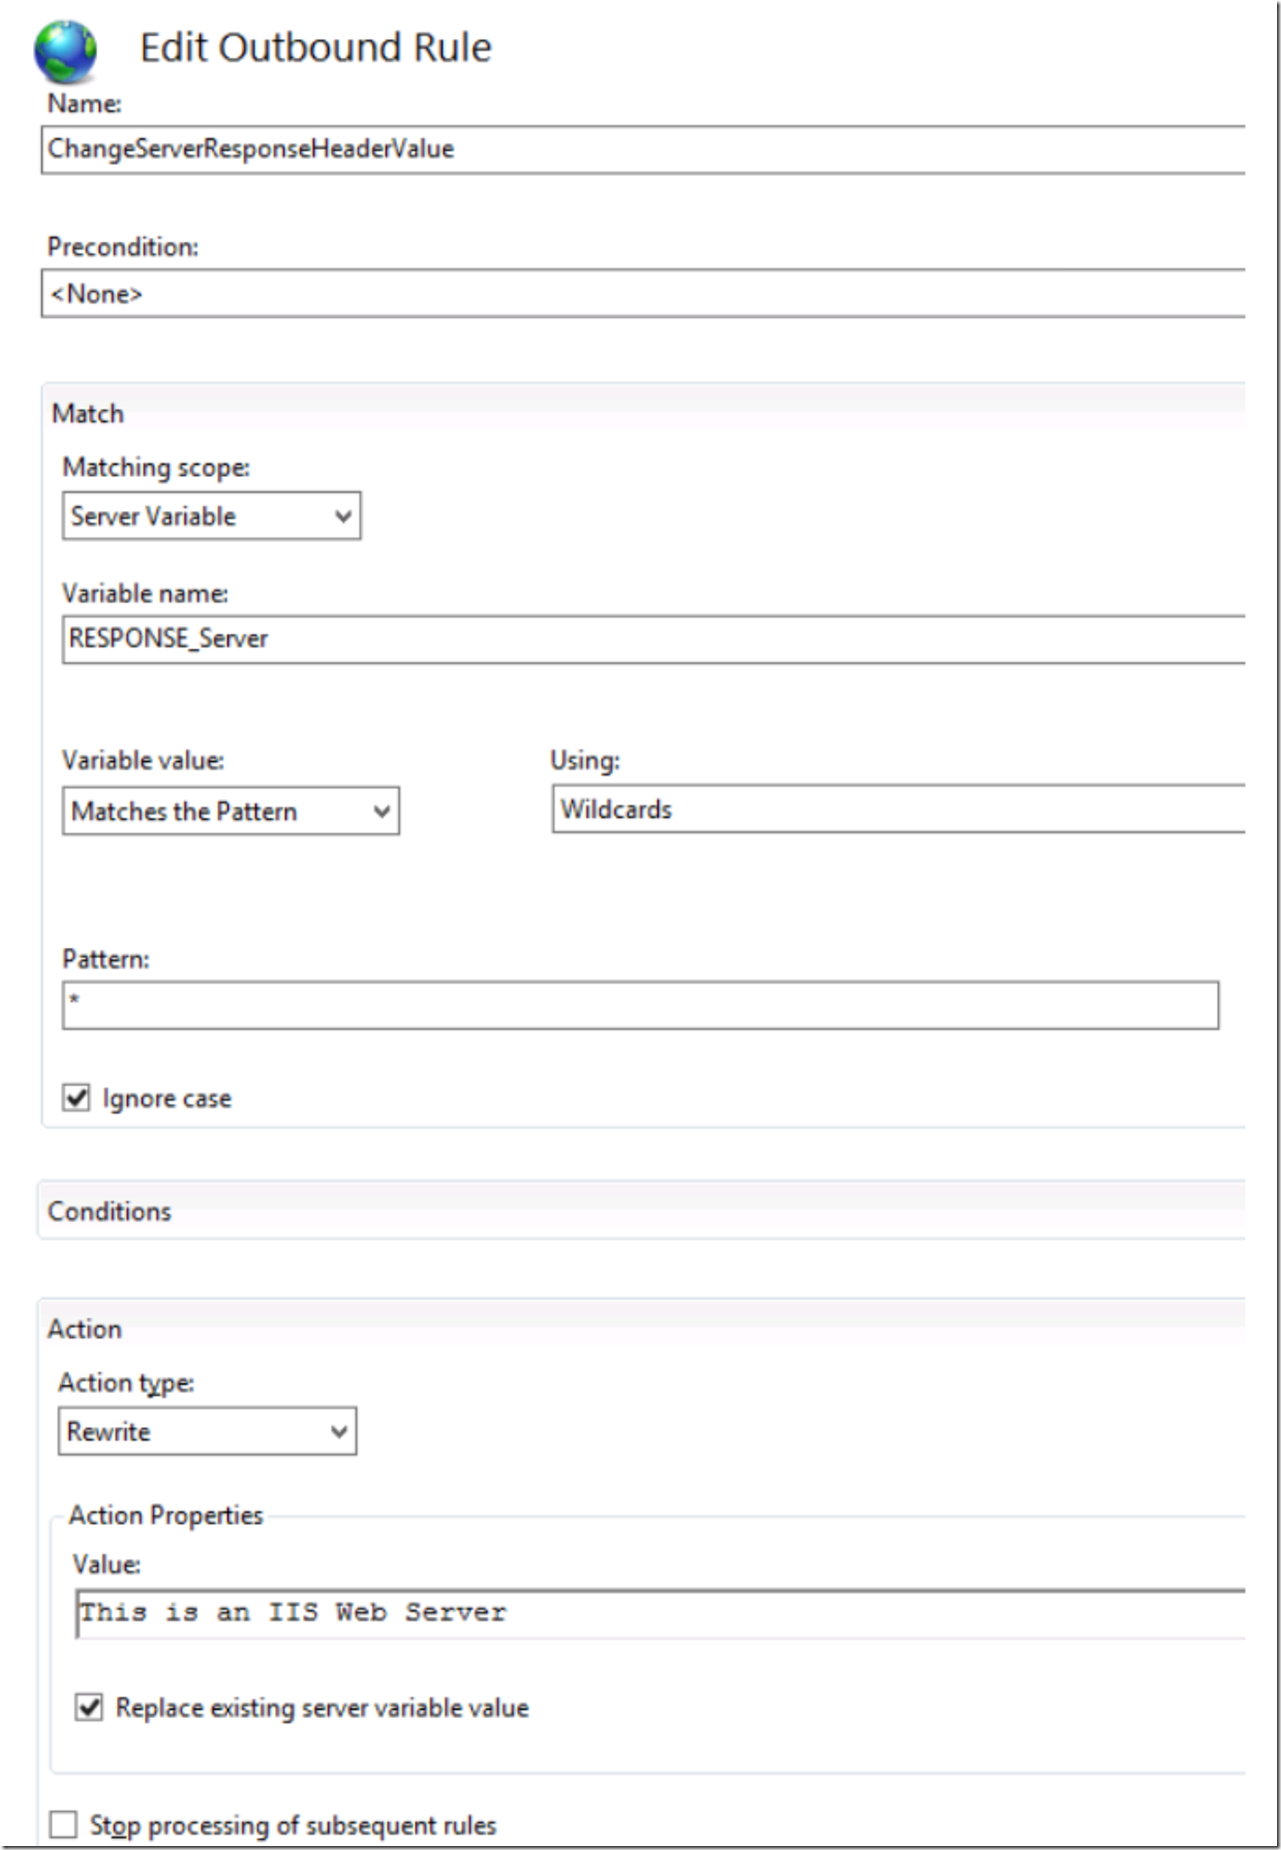
Create the following outbound rule as shown in Figure 5.
Figure 5, how to change the Server HTTP Response Header value
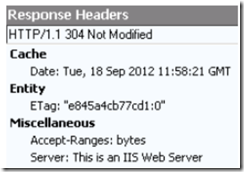
Apply your changes and re-access the website. Notice that the value for the Server field name has been changed, as shown in Figure 6.
Figure 6, Modified Server response header value using an outbound URL Rewrite rule
Note that the above rule is a plain vanilla rule. Meaning it is a catch all and is meant for an example only. I do suggest you shrink it by adding some Conditions and/or Patterns so that it better matches you needs.
